Chasing the Celestial Dancer: Your Ultimate Guide to Photographing the Northern Lights in December 2025
The air was crisp, biting at my exposed cheeks as I stood on a frozen lake in Finnish Lapland. The wind whispered through the snow-laden pines, and above, the inky black sky was peppered with a million stars. I'd been waiting for hours, fingers numb despite my thick gloves, my camera perched steadfastly on its tripod. Doubt had begun to creep in, a tiny, icy tendril of disappointment. Would tonight be the night?
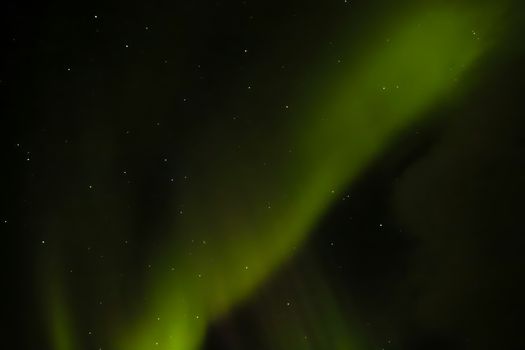
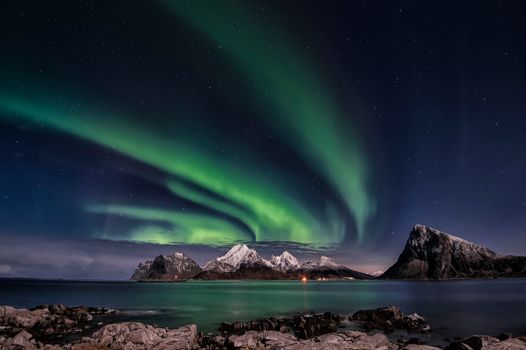
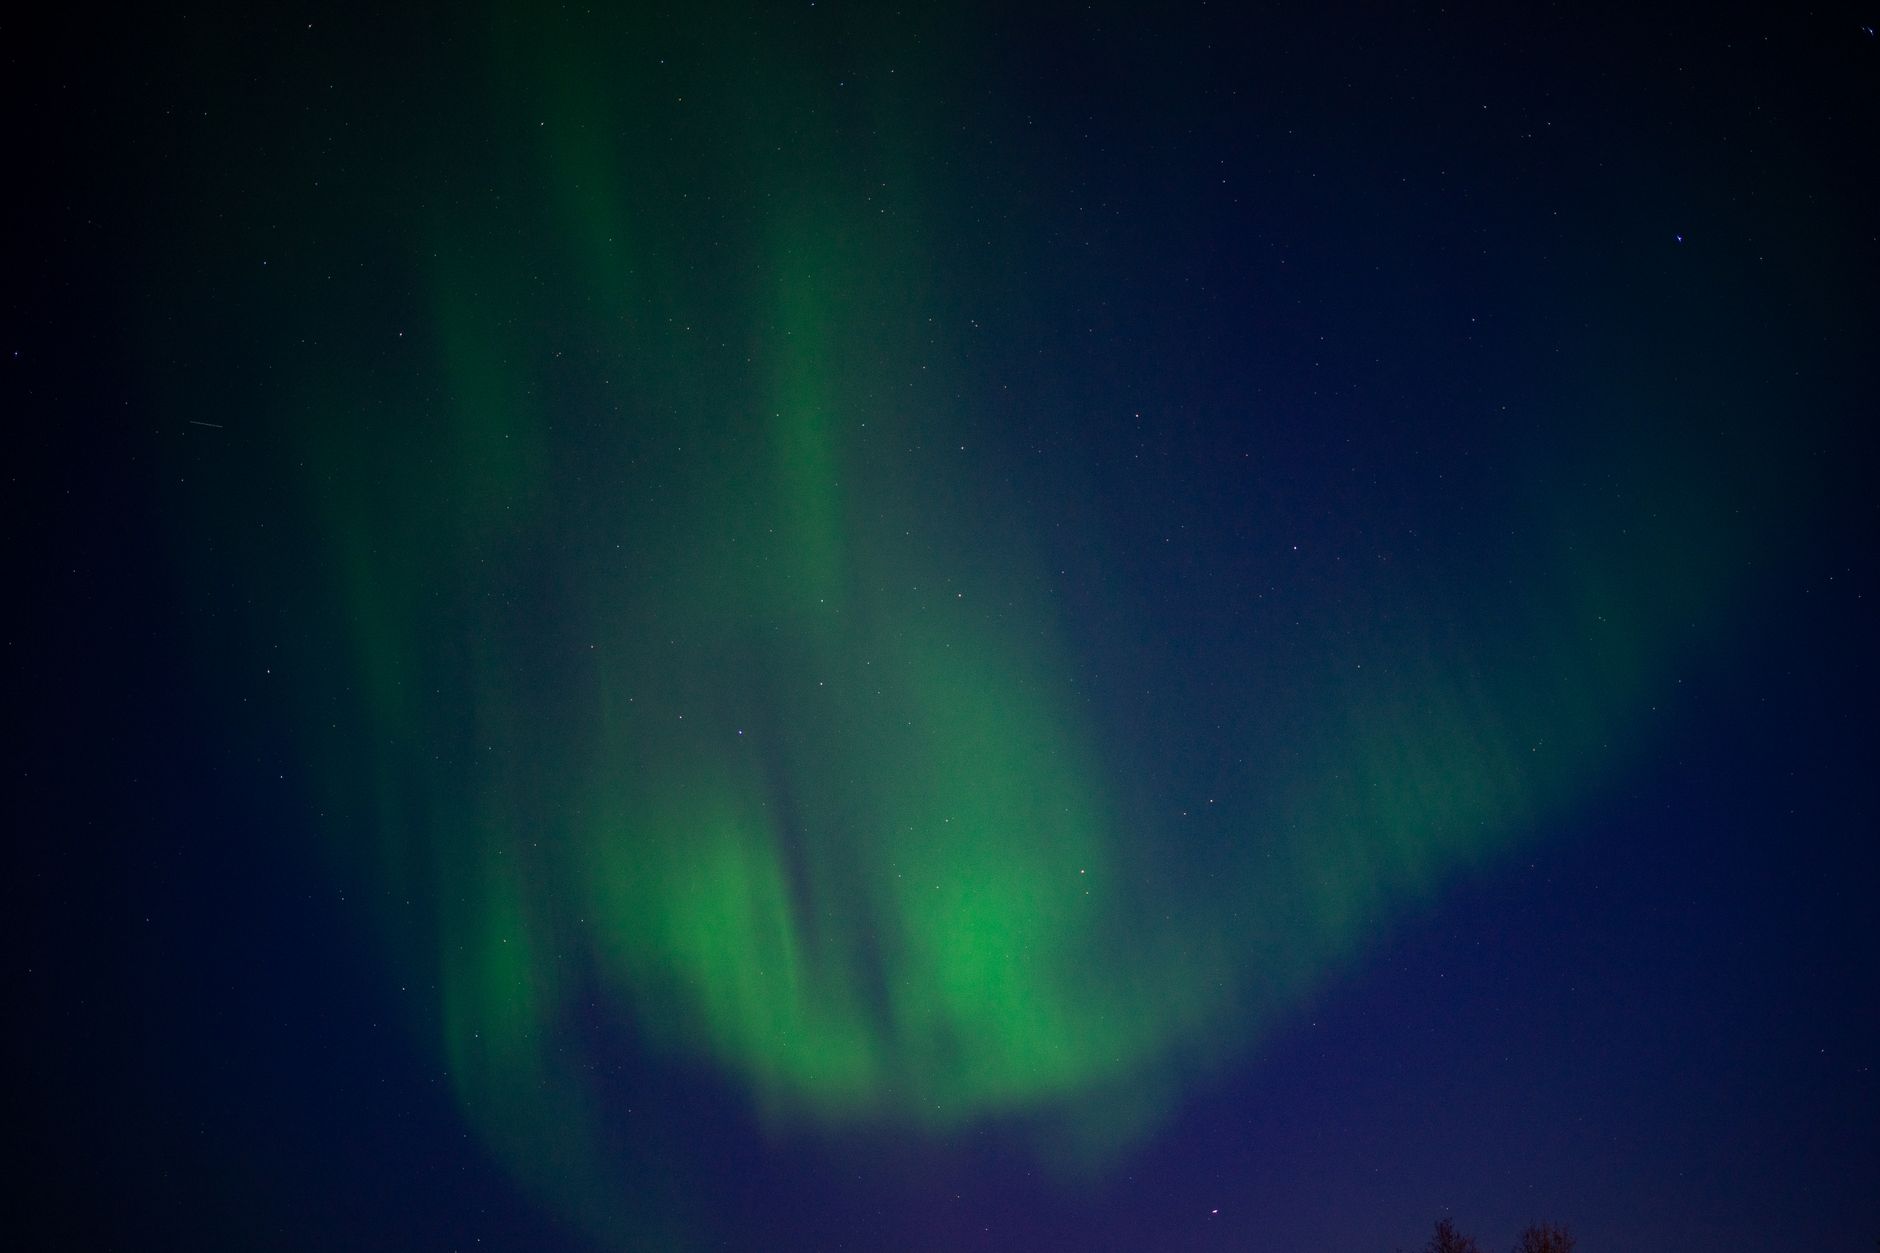
Then, a faint, almost imperceptible smudge of green appeared on the northern horizon. My heart leaped. Within minutes, it broadened, intensified, and began to sway like a cosmic curtain. Emerald ribbons danced across the heavens, swirling and pulsing with an otherworldly grace. It was breathtaking, humbling, and utterly unforgettable. I clicked the shutter, capturing a moment that felt like a dream.
That was my first true encounter with the Aurora Borealis, and it sparked an obsession. Since then, I’ve chased those elusive lights across Scandinavia and beyond, learning through trial and error how to truly capture their magic. And let me tell you, December 2025 is shaping up to be an incredible time to witness this natural wonder, as we approach the peak of the solar cycle.
Are you ready to turn your aurora dreams into stunning, shareable photographs? Good. Because this comprehensive guide will equip you with everything you need to know, from gear and settings to the best locations and my personal tips, to photograph the Northern Lights like a pro in December 2025.
Timing is Everything: Decoding the Aurora Forecast for December 2025
You can have the best gear and settings in the world, but if the lights aren't out, you're just taking photos of a dark sky. Understanding when and where to look is your first and most crucial step.
Why December 2025 is Special:
We are heading towards a "solar maximum," predicted for late 2024 to mid-2025. This means increased solar activity, leading to more frequent and intense auroral displays! December, with its long, dark nights in the northern latitudes, offers prime viewing conditions.
Understanding the KP-Index:
The Aurora's strength is measured by the Kp-index, a scale from 0 to 9.
* Kp 0-1: Very weak, often not visible to the naked eye, or only as a faint glow.
* Kp 2-3: Faint to moderate, visible in dark skies.
* Kp 4-5: Moderate to strong, easily visible, begins to show movement. This is your sweet spot for great photos!
* Kp 6-9: Strong to severe geomagnetic storms, leading to widespread, vibrant displays. These are rare but spectacular!
Monitoring the Forecast:
Don't rely on guesswork. Several excellent resources will be your best friends:
* My Aurora Forecast & Alerts (App): My personal favorite. Provides real-time Kp-index, likelihood of aurora, and cloud cover. You can set up alerts for when the Kp-index reaches a certain level in your location.
* SpaceWeatherLive.com: For the truly dedicated, this site offers detailed solar wind data, magnetograms, and long-range forecasts.
* Local Meteorological Websites: Always check local cloud cover forecasts. Clear skies are paramount! A Kp 5 under thick clouds is a no-go.
* Darkness is Your Friend: The best viewing window is typically between 9 PM and 3 AM local time. The darkest skies are usually around midnight. Avoid full moon nights if possible, as the moonlight can wash out fainter displays. That said, a partial moon can actually beautifully illuminate a snowy landscape, providing a stunning foreground for your aurora shots!
My Anecdote:
I once spent two nights in northern Norway, patiently waiting. The forecast was a Kp 3, but the clouds were relentless. On the third night, the clouds parted just before midnight, and a Kp 4 display erupted! It taught me that persistence and constant checking of both aurora and cloud forecasts are key. Never give up too early!
Gear Up: Your Aurora Photography Arsenal
Photographing the Northern Lights isn't like snapping a selfie. It requires specific equipment designed for low-light, long-exposure photography in challenging, cold conditions. Invest wisely, and you'll be rewarded with incredible shots.
- The Camera Body:
- DSLR or Mirrorless: Both work wonderfully. Mirrorless cameras (like Sony A7 series, Canon R series, Nikon Z series) often have superior low-light performance and electronic viewfinders that show you exactly what your exposure will look like.
- Full-Frame vs. Crop Sensor: Full-frame cameras generally perform better in low light due to larger sensors, resulting in less noise at higher ISOs. However, modern crop-sensor cameras (e.g., Fujifilm X-T series, Sony a6000 series) are also very capable. Don't let a crop sensor deter you!
- The Lens (Your Most Important Piece of Kit):
- Wide-Angle: You need to capture a large swathe of the sky. Lenses in the 14mm to 24mm range (on a full-frame camera) are ideal.
- Fast Aperture: This is CRITICAL. You need a lens with an aperture of f/2.8 or wider (f/2.0, f/1.8, f/1.4). A wider aperture lets in more light, allowing for shorter shutter speeds and lower ISOs, resulting in sharper images with less noise.
- Recommendations:
- Budget-Friendly: Rokinon/Samyang 14mm f/2.8 (manual focus, but excellent for aurora).
- Mid-Range: Sigma 14-24mm f/2.8 Art, Tamron 17-28mm f/2.8, Nikon 14-24mm f/2.8, Canon RF 15-35mm f/2.8.
- Premium: Sony FE 14mm f/1.8 GM, Nikon Z 14-24mm f/2.8 S, Canon RF 14-35mm f/4L (f/4 is acceptable but f/2.8 is better).
- A Sturdy Tripod:
- Non-Negotiable: Long exposures require absolutely no camera movement. A flimsy tripod is useless.
- Material: Carbon fiber is lighter and less prone to cold-induced brittleness than aluminum.
- Stability: Ensure it can withstand wind. Look for one with a hook under the center column to hang your camera bag for added stability.
- My Tip: Practice setting up and adjusting your tripod in the dark before you go. You'll thank yourself later when your fingers are numb.
- Remote Shutter Release (or Intervalometer):
- Essential: Pressing the shutter button directly can cause camera shake, blurring your image. A remote trigger (wired or wireless) or using your camera's 2-second timer is a must.
- Intervalometer: Great if you plan to shoot time-lapses.
- Extra Batteries (and keep them WARM!):
- Cold drains batteries rapidly. Bring at least 2-3 spares.
- Hack: Keep spare batteries in an inside pocket close to your body heat. Swap them frequently.
- Headlamp with Red Light Mode:
- Red Light: Preserves your night vision and won't interfere with other photographers' long exposures. Essential for adjusting settings without blinding yourself or others.
- Warm Clothing & Accessories:
- Layers, layers, layers! Thermal base layers, fleece mid-layers, and a waterproof/windproof outer shell.
- Insulated Boots: Standing still in snow for hours will make your feet numb.
- Warm Gloves/Mitts: Gloves that allow you to operate your camera are crucial. Many photographers use thin liner gloves under thicker mitts.
- Hand Warmers: Stick them in your gloves and boots. Seriously, they're lifesavers!
- Balaclava/Neck Gaiter: Protect your face and neck from the biting wind.
- Optional but Recommended:
- Lens Warmer: Prevents condensation and frost buildup on your lens in extreme cold.
- Power Bank: To charge your phone (for aurora apps) or other small devices.
- Lens Cloths: For wiping away moisture or snow.
Mastering Your Camera Settings: The Nitty-Gritty
This is where the magic happens. Getting your settings right is paramount to capturing sharp, vibrant aurora photos.
- Shoot in Manual Mode (M): No exceptions. You need full control.
- Focus - Manual to Infinity:
- Autofocus will fail in the dark. Switch your lens and camera to manual focus (MF).
- How to Focus:
- Method 1 (Preferred): Before it gets completely dark, focus on a distant light source (street light, distant building) using autofocus, then switch to manual focus and leave it there.
- Method 2 (In the Dark): Use your camera's "Live View" mode. Zoom in digitally (5x or 10x) on a bright star (or the moon if visible) and manually adjust your focus ring until the star is as tiny and sharp as possible.
- Method 3 (Hyperfocal Distance): Some lenses have a distance scale. Set it to infinity, then back off ever so slightly.
- My Tip: Once focused, tape down your focus ring with a small piece of gaffer tape to prevent accidental bumps.
- Aperture (f-stop): Wide Open!
- Set your lens to its widest aperture (smallest f-number), e.g., f/2.8, f/2.0, or f/1.4. This lets in maximum light.
- ISO (Sensitivity): The Light Catcher:
- Start with ISO 1600 or 3200.
- Adjust based on aurora brightness:
- Faint aurora: ISO 3200-6400 (or even higher on full-frame cameras).
- Bright, dancing aurora: ISO 800-1600.
- Balance: Higher ISO means more noise. Aim for the lowest ISO you can use while still getting a good exposure within your desired shutter speed.
- Shutter Speed (Exposure Time): The Light Painter:
- This is highly dependent on the aurora's brightness and movement.
- Faint/Slow Aurora: Start with 15-20 seconds. This collects more light.
- Bright/Fast-Moving Aurora: Reduce to 5-10 seconds. This "freezes" the movement better, preventing blurry, washed-out ribbons.
- Trial and Error: Take a test shot, review it, and adjust. If it's too dark, increase shutter speed or ISO. If it's too bright/blurry, decrease shutter speed or ISO.
- Rule of 500 (for avoiding star trails): Divide 500 by your lens's focal length (e.g., 500/14mm = 35 seconds). This gives you the maximum shutter speed before stars start to trail. However, for aurora, you'll usually be well below this to capture the aurora's movement.
- White Balance (WB): Color Accuracy:
- Shoot RAW: This allows you to adjust white balance perfectly in post-processing.
- In-Camera (for JPEGs or preview): Experiment with Kelvin settings (3200K-4000K) for a natural look. Auto White Balance often makes the aurora look too blue. I usually set mine to around 3500K.
- Image Stabilization (IS/VR/OS): OFF!
- When on a tripod, image stabilization can actually introduce blur. Turn it off on both your lens and camera body.
- Long Exposure Noise Reduction: OFF (for continuous shooting)!
- This feature takes a second dark frame after each shot, doubling your exposure time. If you're shooting continuously to catch the aurora's movement, turn it off. Only enable it if you're taking a single, very long exposure and have time to wait.
- High ISO Noise Reduction: Set to "Low" or "Off" in-camera, as you'll do better noise reduction in post-processing.
- Shoot in RAW: Always, always shoot in RAW format. It captures far more data than JPEG, giving you immense flexibility for post-processing and rescuing details in challenging conditions.
Quick Cheat Sheet for Beginners (Adjust as Needed):
* Mode: Manual (M)
* Focus: Manual, to infinity
* Aperture: f/2.8 (or widest available)
* ISO: 3200
* Shutter Speed: 15 seconds
* White Balance: 3500K or Auto (if shooting RAW)
* IS/VR/OS: OFF
* LENR: OFF
* File Type: RAW
Where to Chase the Lights in December 2025: Top Spots & Practicalities
The Aurora Oval covers vast areas, but some locations are simply better equipped for aurora tourism and offer stunning landscapes for your foregrounds. December offers snow-covered landscapes, adding a magical touch to your photos.
- Iceland: The Land of Fire and Ice:
- Why December: Long nights, often snow-covered, dramatic landscapes.
- Best Spots: Golden Circle (away from Reykjavik's light pollution), Jökulsárlón Glacier Lagoon (icebergs as foreground!), Snaefellsnes Peninsula (Kirkjufell mountain is iconic).
- Logistics: Renting a 4x4 car is popular for flexibility, but guided tours are readily available from Reykjavik (e.g., Arctic Adventures, Gray Line, Reykjavik Excursions).
- Prices: Guided aurora tours typically range from €80-€150 per person. Car rentals vary widely, but expect €50-€100+ per day for a suitable vehicle.
- Personal Tip: Consider staying in rural guesthouses for a few nights to maximize your chances away from city lights. I loved staying near Vík and Skaftafell for their dark skies.
- Norway: Fjords and Arctic Cities:
- Why December: Deep within the Arctic Circle, stunning coastal scenery.
- Best Spots:
- Tromsø: "Gateway to the Arctic." Easy access, many tour operators. Consider a Fjord cruise for unique perspectives.
- Lofoten Islands: Dramatic peaks, picturesque fishing villages (Reine, Hamnøy). Requires more travel but offers unparalleled foregrounds.
- North Cape: Extreme north, remote, but spectacular if you make it.
- Logistics: Fly into Tromsø. For Lofoten, fly to Bodø and take a ferry, or fly directly to Leknes/Svolvær. Rental cars are recommended for Lofoten.
- Prices: Aurora tours from Tromsø typically €100-€200. Lofoten offers more self-guided opportunities, but local guides are available.
- Personal Tip: Dress for extreme cold, especially on coastal tours where wind chill can be brutal. Temperatures can easily drop to -15°C to -25°C.
- Finland: Lapland's Winter Wonderland:
- Why December: Classic Santa Claus land, snow-covered forests, glass igloos.
- Best Spots: Rovaniemi (though some light pollution, tours depart from here), Levi, Saariselkä, Inari. These areas offer vast, dark wilderness.
- Logistics: Fly into Rovaniemi or Kittilä. Many resorts offer aurora safaris (husky, snowmobile, or bus).
- Prices: Aurora tours often bundled with other activities like husky sledding or snowmobiling, ranging from €150-€300+. Glass igloo stays can be €400-€1000+ per night.
- Personal Tip: If you're staying in a glass igloo, research its orientation. Not all offer optimal northern views. And be prepared for the cold; my fingers nearly froze off during a snowmobile aurora chase, but the photos were worth it!
- Sweden: Abisko's Blue Hole & Icehotel:
- Why December: Abisko is famous for its "blue hole" – a patch of sky often clear of clouds due to its unique microclimate.
- Best Spots: Abisko National Park (Aurora Sky Station), Kiruna (home to the original ICEHOTEL).
- Logistics: Take the night train from Stockholm to Kiruna/Abisko. Guided tours are available from Abisko.
- Prices: Sky Station visits €80-€150. ICEHOTEL stays are a luxury experience, often €300-€800+ per night.
- Personal Tip: The train journey itself through the snowy landscape is beautiful. Consider a multi-day trip to Abisko to maximize your chances.
- Canada: Yellowknife & Yukon:
- Why December: Yellowknife sits directly under the auroral oval, offering some of the world's most consistent displays.
- Best Spots: Yellowknife (Northwest Territories), Whitehorse (Yukon).
- Logistics: Fly into Yellowknife or Whitehorse. Many tour operators offer comfortable heated teepees or cabins for viewing.
- Prices: Aurora tours typically €100-€250.
- Personal Tip: Canadian winter is seriously cold. Think -30°C and below. Layer up even more than you think you need to!
General Location Tips:
* Get Away from Light Pollution: Even a small town can significantly diminish aurora visibility. Drive at least 30-60 minutes out of populated areas.
* Seek an Open Northern View: Find a spot with an unobstructed view of the northern horizon.
* Find a Foreground: Don't just shoot the sky! Incorporate elements like snow-covered trees, mountains, a frozen lake, an iconic building, or even a silhouetted person (you!) to add depth and interest to your photos. This makes them truly Instagram-worthy!
Beyond the Shot: Post-Processing & Sharing Your Magic
You've braved the cold, nailed the settings, and captured incredible RAW files. Now, it's time to bring out their full potential in post-processing.
Software of Choice:
* Adobe Lightroom Classic/Lightroom: Industry standard for photo editing, especially for RAW files.
* Adobe Photoshop: For more advanced retouching or compositing.
* Luminar Neo: Excellent AI-powered tools for quick enhancements, sky replacements (if needed), and noise reduction.
Key Post-Processing Steps:
- Import RAW Files: Always start with your RAW files.
- Basic Adjustments (Exposure Panel):
- Exposure: Adjust overall brightness.
- Highlights/Shadows: Recover detail in bright aurora or dark foregrounds.
- Whites/Blacks: Set your white and black points for contrast.
- White Balance: If you shot RAW, fine-tune the White Balance. You can make the greens pop or give them a more natural hue. Often, pushing the "Temp" slider slightly cooler and "Tint" slightly towards magenta can enhance the aurora's colors.
- Presence (Clarity, Dehaze, Vibrance, Saturation):
- Clarity: Adds mid-tone contrast, making details pop (use sparingly).
- Dehaze: Can help cut through any atmospheric haze.
- Vibrance/Saturation: Boost the colors of the aurora. Vibrance is generally safer as it targets less saturated colors, preventing oversaturation.
- Noise Reduction: This is crucial for high ISO aurora shots.
- In Lightroom, go to the "Detail" panel. Adjust "Luminance Noise Reduction" and "Color Noise Reduction" until the image looks clean without losing too much detail.
- Sharpening: After noise reduction, apply a touch of sharpening to bring back detail.
- Lens Corrections: Enable "Remove Chromatic Aberration" and "Enable Profile Corrections" to fix lens distortions.
- Cropping & Straightening: Straighten your horizon and crop for better composition.
- Local Adjustments (Brushes/Gradients):
- Use brushes to selectively brighten your foreground or enhance the aurora in specific areas.
- Radial or Graduated Filters can help darken the sky or brighten a horizon.
Sharing Your Masterpiece:
- Instagram: Use relevant hashtags like #NorthernLights, #AuroraBorealis, #AuroraPhotography, #December2025Aurora, #TravelPhotography, #Astrophotography, #Iceland, #Norway, #Finland, and tag @Tripsora!
- Geotagging: Tag your exact location to inspire others.
- Storytelling: Don't just post the photo; share your personal story of the chase, the cold, and the moment the lights appeared. This adds authenticity and engagement.
- Engage: Respond to comments, answer questions, and build a community around your travel photography.
Conclusion: Your Aurora Adventure Awaits!
Photographing the Northern Lights is more than just a technical exercise; it's an immersive experience, a battle against the elements, and ultimately, a profound connection with nature's most spectacular light show. The thrill of seeing those ethereal ribbons dance across the sky is unmatched, and capturing that moment with your camera is a reward beyond measure.
December 2025, with its promising solar activity and long, dark nights, is calling. You now have the knowledge, the gear list, the settings, and the location insights to make your aurora photography dreams a reality. It won't always be easy; there will be cold nights, cloud cover, and perhaps even some blank skies. But the patience, the perseverance, and the sheer wonder of it all will make every moment worthwhile.
So, pack your warmest layers, charge those batteries, and set your sights on the Arctic. The celestial dancer awaits your lens.
Now it's your turn!
Have you ever photographed the Northern Lights, or are you planning your December 2025 adventure? Share your tips, dream destinations, or questions in the comments below! And don't forget to tag #Tripsora and #AuroraDreams2025 when you share your incredible photos!
---