Chasing the Cosmic Dance: Your Ultimate Guide to Photographing the Northern Lights in November 2025
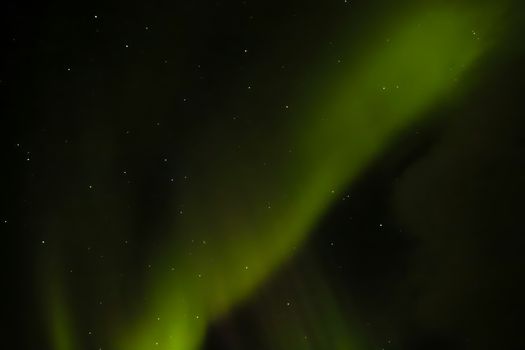
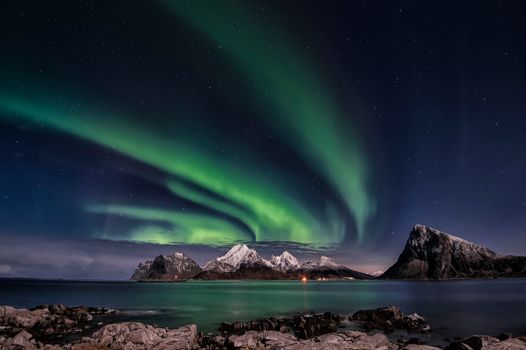
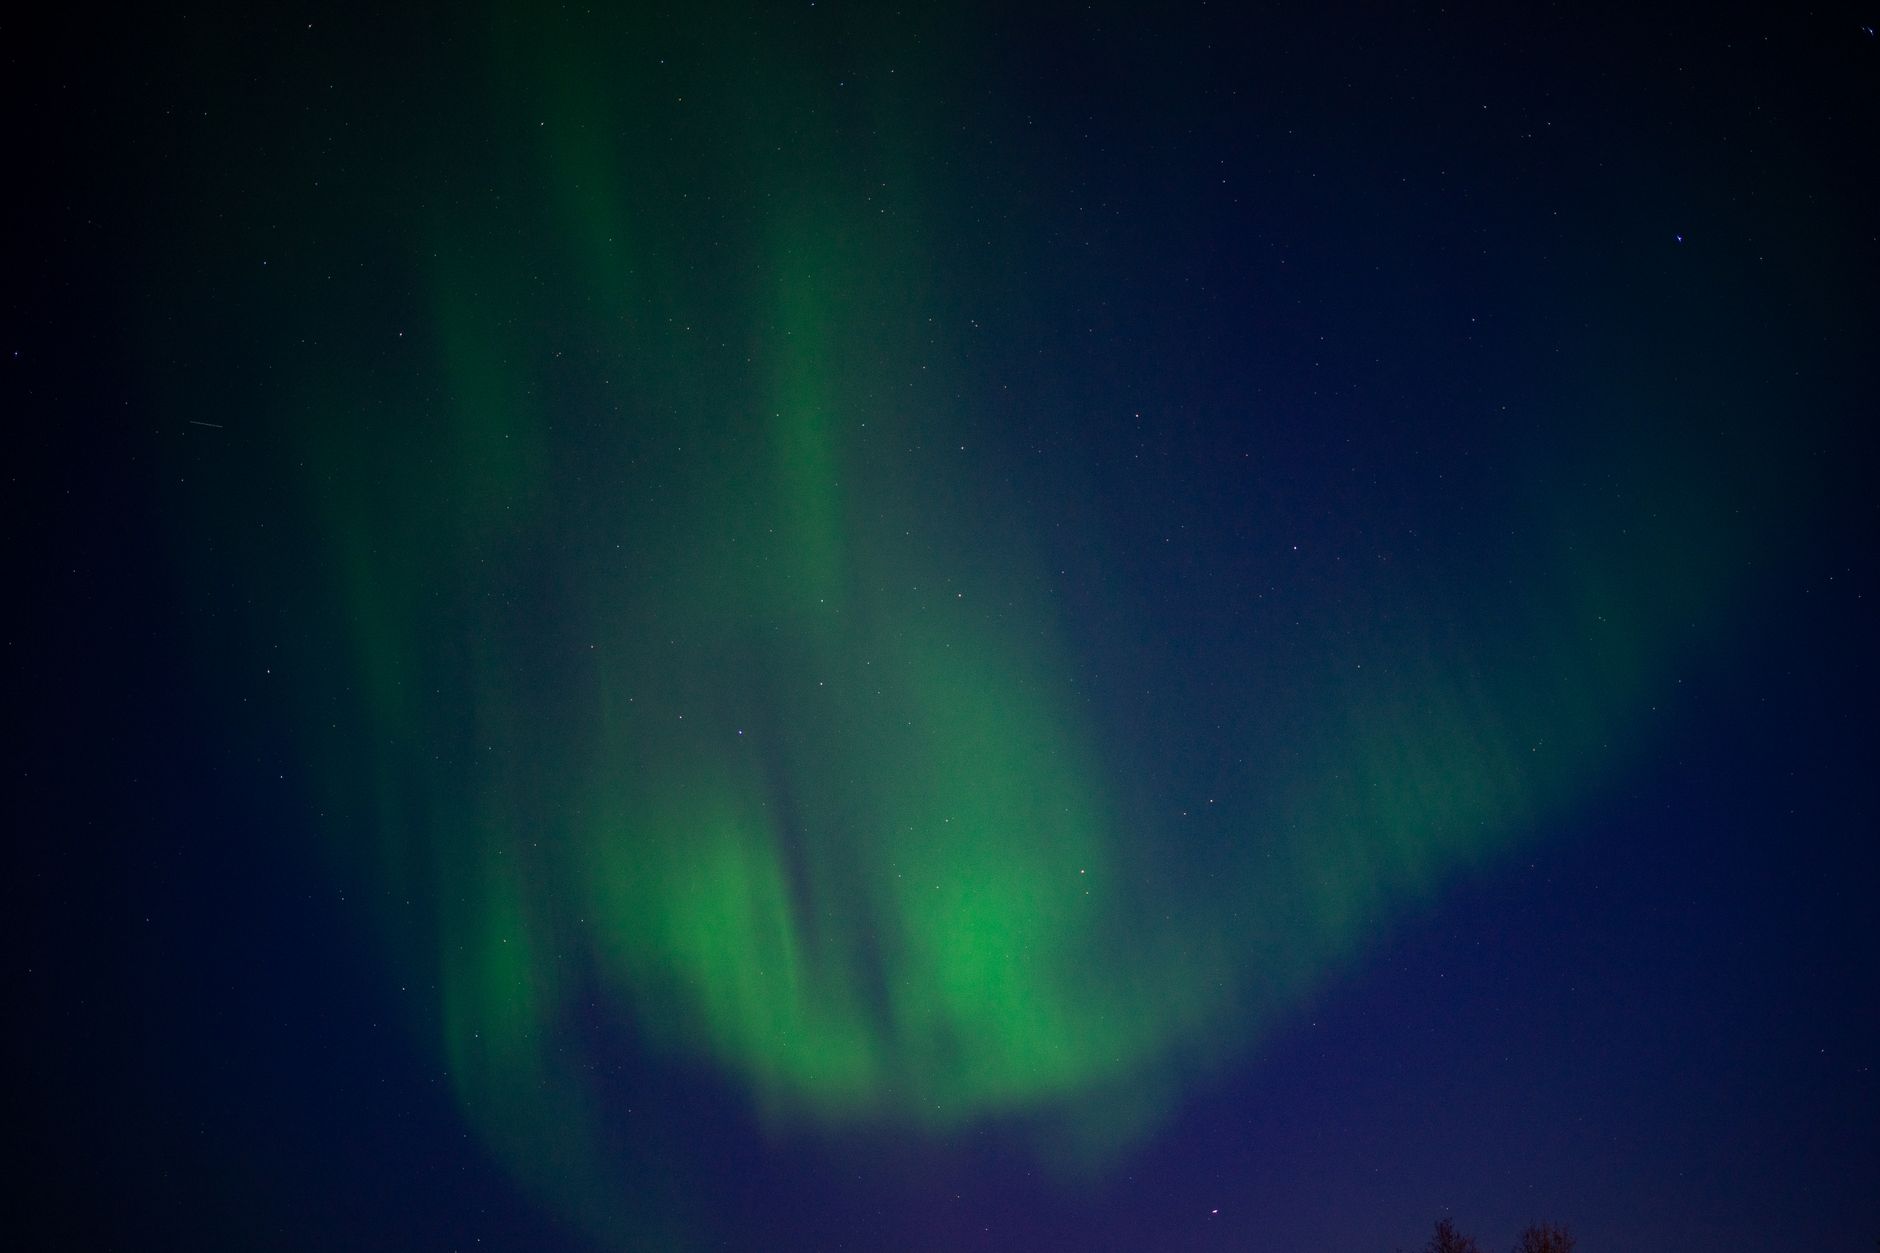
The cold nipped at my exposed skin, my breath fogging the air as I peered through the viewfinder. It was my third night in the Lofoten Islands, Norway, and the sky was finally putting on a show. A faint green glow began to shimmer, growing in intensity, then dancing in vibrant curtains across the inky blackness. My fingers, numb despite thick gloves, fumbled with the camera settings I’d meticulously memorized. Click. A long exposure. The screen lit up, revealing not just a blurry green smudge, but a crisp, luminous arc of emerald fire against a backdrop of twinkling stars. That moment, that first successful aurora shot, felt like catching lightning in a bottle – pure, unadulterated magic.
If you’re reading this, chances are you’ve felt that same pull, that yearning to witness and capture one of Earth’s most spectacular natural phenomena: the Northern Lights. And let me tell you, November 2025 is shaping up to be an epic time to make that dream a reality. We're heading into a peak period of solar activity, meaning more frequent and intense aurora displays. Combine that with longer nights and often more stable weather than the deep winter months, and you've got a recipe for photographic gold.
But here’s the thing: merely seeing the aurora is one thing; capturing its breathtaking beauty in a photograph is another challenge entirely. It requires patience, preparation, and knowing your gear inside and out. Don’t worry, though. I’ve spent countless hours under frigid skies, learning the hard way so you don’t have to. In this comprehensive guide, I'll share my top tips, essential gear, and the best locations to help you photograph the Northern Lights in November 2025 like a seasoned pro.
Let’s dive in!
Why November 2025 is Your Aurora Sweet Spot
You might be wondering, "Why November specifically?" It's a fantastic question, and the answer involves a perfect storm of celestial mechanics and practical travel considerations.
Firstly, solar activity. The Northern Lights (Aurora Borealis) are caused by charged particles from the sun colliding with Earth's atmosphere. The sun goes through an approximately 11-year cycle of activity, and experts predict that Solar Cycle 25 will reach its peak, or "solar maximum," in late 2024 or early 2025. This means November 2025 falls right into a period of heightened solar activity, increasing the chances of powerful, vibrant displays. More sunspots, more solar flares, more coronal mass ejections (CMEs) – all translate to more potential aurora!
Secondly, the darkness. By November in the high latitudes, the days are incredibly short, and the nights are long and gloriously dark. This provides ample opportunity for aurora viewing, as you need complete darkness to see and photograph the lights effectively. Unlike the perpetual twilight of summer, November offers hours upon hours of prime viewing time.
Thirdly, weather patterns. While winter can bring extreme cold and heavy snowfall, November often presents a sweet spot. Temperatures are cold, yes (expect anything from 0°C to -20°C, depending on location), but often not as brutally frigid as January or February. Crucially, in many popular aurora destinations like Norway and Iceland, November can see periods of clearer skies between weather systems. Less snow and cloud cover mean a better chance of seeing the lights. Plus, fewer tourists than the peak holiday season means more serene viewing spots and potentially better deals on flights and accommodation.
So, mark your calendars. November 2025 is calling your name for an unforgettable aurora adventure!
Arm Yourself: The Essential Gear List for Aurora Photography
Before you even think about camera settings, you need the right tools. Trust me, trying to shoot the aurora with inadequate gear is a recipe for frustration and blurry disappointment. Here’s what you absolutely need:
- Camera Body:
- Full-Frame DSLR or Mirrorless Camera: This is non-negotiable for serious aurora photography. Cameras like the Sony A7 series, Canon R series, Nikon Z series, or older full-frame DSLRs (Canon 5D Mark IV, Nikon D850) excel in low light thanks to their larger sensors, which capture more light and produce less noise at high ISOs.
- APSC Cameras: While full-frame is ideal, a good APSC camera (e.g., Fujifilm X-T series, Sony a6000 series, Canon M series) can still deliver decent results, especially if paired with a fast lens. Be prepared for slightly more noise.
- Lens – Your Aurora Superpower:
- Wide-Angle Lens: You need to capture as much of the sky as possible. Think 14-24mm, 16-35mm, or even wider (e.g., 12mm, 15mm).
- Fast Aperture (Low f-number): This is critical. You need a lens with a maximum aperture of at least f/2.8 or wider (f/2.0, f/1.8, f/1.4 are even better). The wider the aperture, the more light your lens can gather in a short amount of time, allowing for shorter shutter speeds and sharper aurora. My go-to is usually a 14-24mm f/2.8 or a fast prime like a 24mm f/1.4.
- Sturdy Tripod:
- Absolutely essential. Long exposures mean any camera shake will ruin your shot. Invest in a stable, robust tripod that can withstand wind and cold. Carbon fiber is lighter and less prone to extreme cold than aluminum.
- Remote Shutter Release (or intervalometer):
- Pressing the shutter button manually can introduce shake. A wired or wireless remote shutter release allows you to trigger the camera without touching it. Many modern cameras also have built-in intervalometers or can be controlled via a smartphone app.
- Extra Batteries:
- Cold weather drains batteries fast. Bring at least 2-3 fully charged spares, and keep them warm (e.g., in an inside pocket) until you need them.
- Headlamp with Red Light Mode:
- You’ll be operating in complete darkness. A headlamp is crucial for seeing your camera settings, but use a red light mode to preserve your night vision and avoid disturbing other photographers.
- Warm Clothing & Accessories:
- This isn't strictly camera gear, but it's vital for your comfort and ability to stay out long enough to get the shot. Layer up: thermal base layers, fleece mid-layers, a waterproof and windproof outer shell. Insulated boots, thick wool socks, warm gloves (with touch-screen capability or finger flaps), and a warm hat are non-negotiable.
- Lens Cloth & Hand Warmers:
- Condensation and frost can be an issue. Keep a microfiber cloth handy. Hand warmers can be slipped into your gloves or even taped to your lens barrel to prevent fogging in extreme cold.
Demystifying the Settings: Your Aurora Photography Cheat Sheet
Okay, you’ve got your gear. Now, let’s talk settings. This is where many aspiring aurora photographers get tripped up. The key is to shoot in Manual Mode (M), giving you full control.
Here’s your step-by-step guide:
- Mode Dial: M (Manual)
- Set your camera to full manual mode. This is non-negotiable.
- Focus: Manual Focus (MF) & Infinity
- In the dark, autofocus will fail. Switch your lens to manual focus (MF).
- How to focus to infinity: Before it gets dark, focus on a distant object (like a mountain or the moon) and then switch to MF. Or, in the dark, use Live View and zoom in on a bright star or distant light, manually adjust focus until it’s sharp, then leave it there. Some lenses have an infinity mark, but often it’s not perfectly accurate – test it first!
- Aperture (f-stop): Wide Open!
- Set your lens to its widest aperture (lowest f-number). This means f/2.8, f/2.0, f/1.8, or f/1.4. The goal is to let in as much light as possible.
- ISO: Start High, Adjust Down
- This is your camera's sensitivity to light. Start with a high ISO, typically ISO 1600, 3200, or even 6400.
- Why high? To capture the faint light of the aurora quickly.
- Why adjust? Higher ISOs introduce "noise" (graininess). If the aurora is very bright, you can lower your ISO to reduce noise and get a cleaner image. If it's faint, you'll need to go higher.
- Shutter Speed: The Balancing Act
- This determines how long your camera's sensor is exposed to light. This is the setting you'll adjust most frequently.
- Start with 10-15 seconds.
- If the aurora is faint: You might need 20-30 seconds. Be aware that anything longer than 20-25 seconds can start to show star trails (stars appear as streaks rather than points), which you might or might not want.
- If the aurora is bright and dancing rapidly: You'll want a shorter shutter speed (e.g., 5-8 seconds) to "freeze" its movement and capture its structure without blurring.
- The "500 Rule" (or 300 Rule for crop sensors): A quick guide to avoid star trails: 500 / (focal length * crop factor) = max shutter speed in seconds. For a 14mm lens on a full-frame camera: 500/14 ≈ 35 seconds. For a 14mm lens on an APSC (1.5x crop): 500/(14\*1.5) ≈ 23 seconds. Keep this in mind!
- White Balance (WB): Kelvin or Preset
- Auto White Balance (AWB) often struggles with the aurora, making it look dull.
- Set it manually: Try a Kelvin temperature between 3200K and 4500K. This will give you those lovely cool blues and vibrant greens.
- Alternatively, use a preset like "Tungsten" or "Fluorescent" and adjust from there. You can always fine-tune this in post-processing if you shoot in RAW.
- Image Format: RAW
- Always shoot in RAW. This preserves the maximum amount of image data, giving you far more flexibility to adjust exposure, white balance, and pull details out of shadows in post-processing without degradation.
My Go-To Starting Point (Adjust as needed!):
* Mode: M
* Focus: MF, Infinity
* Aperture: f/2.8 (or widest available)
* ISO: 3200
* Shutter Speed: 15 seconds
* White Balance: 3800K (or Tungsten preset)
* Format: RAW
From here, review your shots. Is it too bright? Lower ISO or shorten shutter speed. Too dark? Increase ISO or lengthen shutter speed. Is the aurora blurring? Shorten shutter speed. Practice makes perfect!
The Aurora Hunter's Atlas: Top Locations for November 2025
Choosing the right location is almost as important as your camera settings. You need clear skies, minimal light pollution, and a high likelihood of aurora activity. Here are some of the best spots to consider for November 2025, along with a few practical details:
1. Iceland: Land of Fire and Ice
- Why November? Incredible landscapes for foreground interest (glaciers, waterfalls, black sand beaches), relatively accessible from North America/Europe, and long nights.
- Key Spots:
- Jökulsárlón Glacier Lagoon: Icebergs glowing under the aurora? Pure magic.
- Kirkjufell Mountain (Snæfellsnes Peninsula): The iconic "Arrowhead Mountain" from Game of Thrones, perfect for dramatic compositions.
- Reynisfjara Black Sand Beach: Basalt columns and crashing waves add drama.
- Practicalities: Renting a 4x4 car is highly recommended for flexibility. Roads can be icy. Budget for higher costs compared to other destinations.
- Estimated Costs (per person, per day, excluding flights): Accommodation $100-$300+, Car Rental $50-$150+, Food $50-$100+. Aurora tours can range from $70-$150.
- Tripsora Tip: Book your accommodation and rental car well in advance as popular spots fill up. Check road conditions daily.
2. Norway: Fjords and Northern Lights
- Why November? Dramatic fjords, picturesque fishing villages, and some of the world's best aurora viewing thanks to its high latitude.
- Key Spots:
- Lofoten Islands: My absolute favorite! Iconic red rorbu cabins, jagged peaks, and stunning coastal views. Perfect for foreground compositions.
- Tromsø: Known as the "Gateway to the Arctic," it's a vibrant city with numerous aurora tour operators (bus, boat, dog sledding).
- North Cape: Europe's northernmost point, offering unobstructed views of the Arctic sky.
- Practicalities: Can be expensive. Public transport is good in cities, but a rental car offers more freedom in Lofoten.
- Estimated Costs (per person, per day, excluding flights): Accommodation $120-$350+, Food $60-$120+. Aurora tours $150-$250 (can be higher for specialized experiences like dog sledding).
- Tripsora Tip: Consider a multi-day aurora chase tour from Tromsø for a higher chance of success and local expertise.
3. Finland: Lappish Magic
- Why November? The spiritual home of Santa Claus, offering unique experiences like glass igloos and husky safaris alongside aurora hunting.
- Key Spots:
- Rovaniemi (Lapland): Home of Santa Claus Village, but also an excellent base for aurora tours.
- Levi/Saariselkä: Ski resorts that offer fantastic aurora viewing away from city lights, with luxury glass igloos for a unique experience.
- Practicalities: Generally well-organized for tourists. Embrace the cold!
- Estimated Costs (per person, per day, excluding flights): Accommodation $100-$400+ (glass igloos are premium), Food $40-$80+. Aurora tours $100-$200.
- Tripsora Tip: Book a night in a glass igloo for a truly unforgettable (and Instagram-worthy!) experience, but be prepared for the price tag.
4. Sweden: Abisko National Park
- Why November? Often cited as one of the best places on Earth for aurora viewing due to its unique "blue hole" microclimate, which keeps skies clearer than surrounding areas.
- Key Spots:
- Abisko National Park (Aurora Sky Station): Accessible by chairlift, this is a prime viewing platform with minimal light pollution. The Sky Station often has aurora guides and photographers on hand.
- Practicalities: Accessible by train from Stockholm. Accommodation options are more limited, so book early.
- Estimated Costs (per person, per day, excluding flights): Accommodation $80-$200+. Food $40-$70+. Aurora Sky Station ticket/tour $100-$200.
- Tripsora Tip: Consider staying at the STF Abisko Turiststation for direct access to the Sky Station and guided tours.
5. Canada: The Wild North
- Why November? Vast, unpopulated wilderness and high latitudes create ideal conditions for spectacular displays.
- Key Spots:
- Yellowknife, Northwest Territories: Often called the "Aurora Capital of North America," with dedicated aurora villages and high success rates.
- Whitehorse, Yukon: Another excellent option, offering a blend of wilderness and cultural experiences.
- Practicalities: Expect extreme cold. Fly-in destinations, so factor in domestic flights.
- Estimated Costs (per person, per day, excluding flights): Accommodation $80-$250+. Food $40-$80+. Aurora tours $100-$200 (often includes warm shelter).
- Tripsora Tip: Dress in extreme layers and consider renting Arctic-grade gear from local outfitters.
Beyond the Shutter: Maximizing Your Aurora Experience
Getting the shot is amazing, but don't let it overshadow the experience itself. Here are some crucial tips for making your aurora chase truly unforgettable:
- Patience and Persistence are Key:
- The aurora is fickle. You might wait hours, or even multiple nights, before it appears. Don't give up! My best shots often came after hours of waiting in the cold. Bring snacks, a thermos of hot chocolate, and good company.
- Check the Forecasts Religiously:
- Kp-index: This measures geomagnetic activity (0-9). Aim for Kp 3 or higher for good visibility at typical aurora latitudes. Websites like NOAA SWPC, SpaceWeatherLive, and aurora apps (My Aurora Forecast, Aurora Alerts) are your best friends.
- Cloud Cover: This is equally, if not more, important. Clear skies are non-negotiable. Use weather apps like Windy.com or local meteorological services.
- Find Your Foreground:
- While a sky full of aurora is stunning, a strong foreground element (a mountain, a cabin, a frozen lake, even your travel buddy!) adds depth, scale, and storytelling to your photos. Scout locations during the day if possible.
- Stay Safe and Warm:
- Driving on icy roads in the dark requires extreme caution. Always be aware of your surroundings.
- Hypothermia is a real risk. Dress in layers, take breaks in a warm car or shelter, and don't push your limits.
- Inform someone of your plans if you're venturing far from populated areas.
- Enjoy the Moment:
- Seriously, put the camera down for a few minutes. Gaze up at the sky with your own eyes, absorb the silence, and let the magic wash over you. Some of my most cherished aurora memories are simply watching it dance, camera forgotten by my side. Capture it, yes, but feel it too.
- Basic Post-Processing for Punch:
- Shooting in RAW gives you incredible flexibility. Even basic adjustments in Lightroom or Photoshop Express can transform your aurora shots.
- Key adjustments:
- White Balance: Fine-tune for those perfect greens and purples.
- Exposure & Highlights/Shadows: Brighten the aurora, recover details in the foreground.
- Noise Reduction: Gently reduce graininess from high ISOs.
- Clarity/Dehaze: Add a little punch to the aurora's glow.
- Vibrance/Saturation: Enhance the colors without making them look artificial.
The Aurora Awaits Your Lens
There’s a reason why photographing the Northern Lights is on so many bucket lists. It’s an experience that transcends mere sightseeing; it’s a connection to the raw power and beauty of our universe. November 2025 offers an unparalleled opportunity to not just witness this spectacle, but to capture its ephemeral glory through your lens.
From the frozen fjords of Norway to the mystical landscapes of Iceland, the aurora is waiting. With the right gear, the right settings, and a good dose of patience, you’ll be well on your way to creating photographs that will inspire awe and envy. So, start planning, gather your gear, and prepare for an adventure that will stay with you long after the last green curtain fades.
Now, go forth, chase the lights, and don't forget to share your incredible captures with us using #TripsoraAurora and #NorthernLights2025! Your next viral Instagram shot is out there, dancing in the sky.
---