Chasing the Green Ghost: Your Ultimate Guide to Photographing the Northern Lights in September 2025
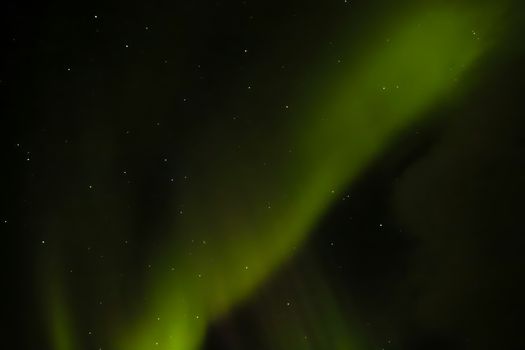
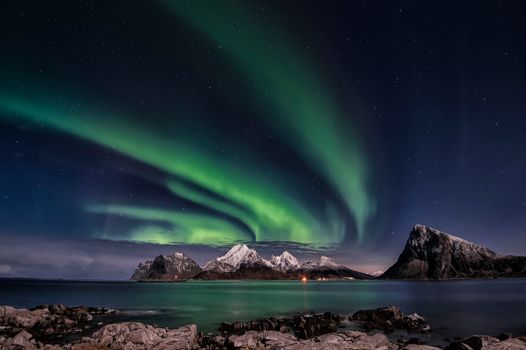
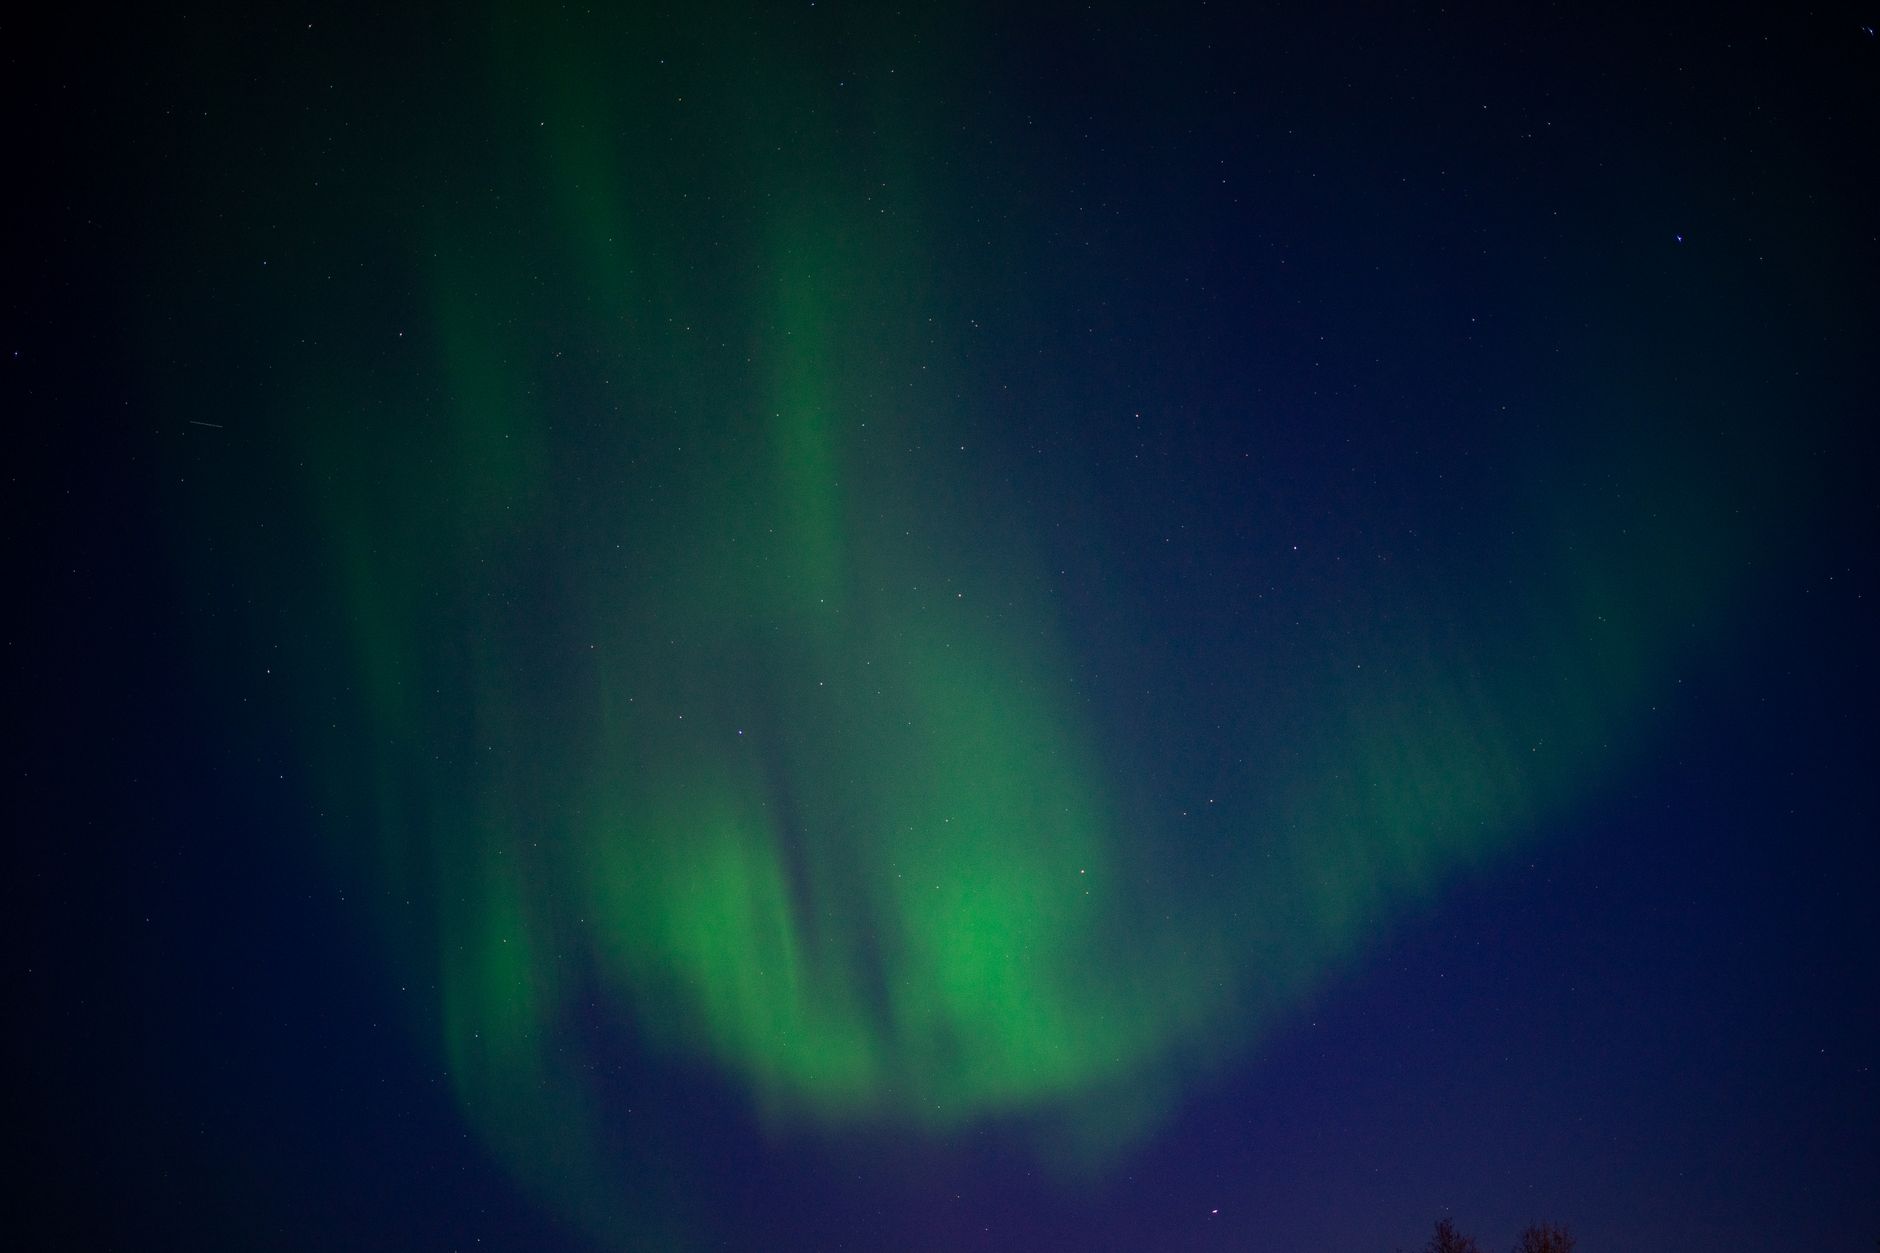
The air was crisp, biting at my exposed cheeks, but I barely noticed. My gaze was fixed on the inky black canvas above, waiting. Hours had passed since we’d driven out of the city, leaving every whisper of light pollution behind. Then, a faint shimmer, like a wisp of smoke, appeared on the horizon. My heart hammered. Could this be it? Within minutes, the sky erupted. Emerald green ribbons danced, pulsed, and swirled with an otherworldly grace, stretching from one end of the firmament to the other. It was a silent symphony of light, a celestial ballet that stole my breath and brought tears to my eyes.
That first encounter with the Aurora Borealis in Finnish Lapland changed me. But as I fumbled with my camera, trying desperately to capture the fleeting magic, I realized something crucial: seeing it is one thing, photographing it is another beast entirely. My initial attempts were blurry, underexposed messes. It took patience, practice, and a lot of cold nights to truly nail it.
That’s why I’m here. September 2025 is shaping up to be an incredible time to witness and photograph the Northern Lights. With the solar maximum approaching, geomagnetic activity is expected to be high, meaning more frequent and intense displays. Combine that with the returning darkness after the summer months and you’ve got a recipe for photographic gold. If you’re dreaming of capturing those iconic, Instagram-worthy aurora shots, buckle up. This comprehensive guide, born from my own frosty adventures and countless hours under the aurora, will give you everything you need to turn that dream into stunning reality.
The Magic of September 2025 – Why Now is Your Moment
Why specifically September 2025? It’s not just a random pick; it’s a sweet spot for several compelling reasons:
- The Autumnal Equinox Effect: Around the equinoxes (March and September), the Earth’s magnetic field is optimally aligned with the solar wind, leading to a phenomenon known as the "Russell-McPherron effect." This often results in increased geomagnetic activity and, consequently, more vibrant aurora displays. It’s like the universe is giving us a little extra push!
- Returning Darkness: After the endless summer days of the Arctic, September ushers in longer, darker nights. This extended period of darkness is crucial for aurora viewing, as the fainter displays become visible. You don't have to wait until midnight for the sky to be truly dark.
- Milder Weather (Relatively): While it's still cold, September generally offers milder temperatures than the deep winter months. This means less extreme cold to contend with for both you and your gear, making those long hours of waiting a bit more tolerable. Roads are typically clear of snow and ice, making travel easier and safer than in December or January.
- Autumnal Beauty: Imagine the aurora dancing over landscapes painted with vibrant reds, oranges, and yellows of autumn foliage. In places like Lapland or Lofoten, September is known for "Ruska" – the stunning fall colors. Lakes are often unfrozen, offering incredible reflections to double the aurora's beauty in your shots.
- Solar Maximum Approaching: We are currently heading towards a solar maximum, predicted for late 2024 to mid-2025. This means the sun is at its most active, spitting out more solar flares and coronal mass ejections (CMEs) that interact with our atmosphere to create spectacular auroras. September 2025 falls right into this prime window!
All these factors combine to make September 2025 an exceptional time for aurora chasing. You're getting the best of both worlds: good chances of strong displays and more comfortable conditions than peak winter.
Essential Gear for Aurora Chasers (and Photographers!)
Before you even think about camera settings, you need the right tools. Trust me, I learned the hard way that a phone camera, while great for many things, just won't cut it for the aurora.
- Your Camera Body:
- DSLR or Mirrorless Camera: This is non-negotiable. You need a camera that allows full manual control over settings.
- Low-Light Performance: Cameras with larger sensors (full-frame) generally perform better in low light, producing less noise at higher ISOs. However, modern APS-C cameras can also do an excellent job. Don't let not having a full-frame stop you! My first successful aurora shots were on an entry-level crop sensor.
- The Right Lens:
- Wide-Angle Lens (f/2.8 or wider): This is your best friend. A lens with a focal length between 14mm and 24mm (on full-frame) will capture more of the sky and allow you to include some foreground interest.
- Fast Aperture: The "f/" number is critical. An f/2.8 lens is ideal, f/4 is acceptable, but anything slower (e.g., f/5.6) will make capturing enough light much harder. The wider the aperture, the more light your lens can gather.
- A Sturdy Tripod:
- Absolutely Essential: For long exposure photography, a stable tripod is paramount. Even the slightest wobble will result in blurry images.
- Material: Carbon fiber is lighter for travel, aluminum is more budget-friendly.
- Stability: Ensure it can handle your camera and lens weight, especially in windy conditions. I once had a cheap tripod collapse in a gust of wind, nearly costing me my lens! Invest in a good one.
- Remote Shutter Release:
- Wired or Wireless: This allows you to trigger the shutter without touching the camera, eliminating any chance of camera shake during your long exposures. Most cameras also have a 2-second timer mode, which can be a workaround if you don't have a remote.
- Plenty of Batteries:
- Cold Drains Batteries Fast: This is a crucial tip. Cold temperatures drastically reduce battery life. Carry at least 2-3 spare batteries, and keep them warm (e.g., in an inside pocket close to your body) until you need them.
- Headlamp or Flashlight (with Red Light Mode):
- Preserve Night Vision: A headlamp is essential for setting up your gear in the dark. A red light mode is highly recommended as it won't ruin your night vision or disturb other photographers.
- Warm Clothing & Accessories:
- Layers, Layers, Layers: Even in September, Arctic nights get cold. Think thermal base layers, fleece mid-layers, and a waterproof/windproof outer shell.
- Gloves: Touchscreen-compatible gloves are a lifesaver so you don't have to remove them to adjust camera settings.
- Hat, Scarf, Insulated Boots: Protect your extremities. Frostbite is no joke.
- Hand Warmers: Chemical hand warmers can be placed in your gloves or around your spare batteries to keep them toasty.
- Optional but Recommended:
- Thermos: Hot coffee, tea, or soup makes waiting in the cold much more enjoyable.
- Snacks: Keep your energy up.
- Portable Power Bank: For charging your phone or other small devices.
Mastering Your Camera Settings – The Aurora Cheat Sheet
This is where the magic happens. Getting these settings right is the difference between a blurry green blob and a vibrant, detailed aurora shot.
- Shoot in Manual Mode (M): No auto modes here. You need full control.
- Focus to Infinity:
- Crucial Step: Switch your lens to manual focus (MF).
- How to do it: In daylight, focus on the furthest object you can see, then switch to MF. Mark that spot on your lens. Or, in the dark, use Live View with the highest zoom to manually focus on a distant bright star until it’s sharp. Do this before the aurora appears if possible! Once set, do not touch your focus ring.
- Aperture (f-stop):
- Widest Possible: Set your lens to its widest aperture (smallest f-number), e.g., f/2.8 or f/4. This allows the maximum amount of light to hit your sensor.
- ISO:
- Start at 1600-3200: This is your sensitivity to light. Start here and adjust.
- Faint Aurora: You might need to go higher (e.g., 6400) to capture fainter displays, but be aware that higher ISOs introduce more digital noise.
- Bright Aurora: If the aurora is incredibly bright and fast-moving, you might be able to drop your ISO to 800 or even 400.
- Shutter Speed:
- 5-20 Seconds is Your Range: This depends on the aurora's brightness and movement.
- Fast-Moving, Bright Aurora: Use shorter exposures (5-10 seconds) to capture the distinct shapes and curtains without blurring them into a green cloud.
- Faint, Slow-Moving Aurora: Longer exposures (15-20 seconds) will gather more light and make the aurora appear brighter.
- Avoid Star Trails: If you go much longer than 20-25 seconds, you'll start to see star trails, which might not be your desired effect.
- White Balance:
- Experiment: Start with Auto (AWB) or a preset like "Fluorescent" or "Daylight."
- Manual Kelvin: For more control, set a custom Kelvin temperature (e.g., 3500K-4500K for cooler, truer greens and purples). Adjust to taste.
- Shoot in RAW:
- Maximum Flexibility: RAW files capture all the data from your camera's sensor, giving you far more flexibility in post-processing (adjusting exposure, white balance, noise reduction) without degrading image quality. JPEG compresses this data, limiting your editing options.
- Turn Off Image Stabilization:
- On a Tripod: If your lens or camera has image stabilization (IS/VR/OS), turn it OFF when using a tripod. It can sometimes introduce blur when the camera is perfectly still.
Quick Cheat Sheet for a Starting Point:
* Mode: Manual (M)
* Focus: Manual, to Infinity
* Aperture: f/2.8 (or widest available)
* ISO: 1600-3200
* Shutter Speed: 10-15 seconds
* White Balance: Auto or 4000K
* File Type: RAW
* Image Stabilization: OFF
Where to Hunt the Lights in September 2025 (and Specifics!)
The key ingredients for any aurora hunt are dark skies, a clear view north, and minimal light pollution. September offers excellent opportunities across the Aurora Oval.
1. Iceland: The Land of Fire and Ice
- Why September: Fewer crowds than peak winter, roads are generally clear, and the landscape is still vibrant. Lakes and lagoons are unfrozen, offering incredible reflections.
- Prime Locations:
- Jökulsárlón Glacier Lagoon: Imagine the aurora dancing over icebergs. Truly iconic. (Southeastern Iceland)
- Kirkjufell Mountain (Snæfellsnes Peninsula): The "Arrowhead Mountain" is a dream foreground. (Western Iceland)
- Golden Circle (away from Reykjavik): Drive away from the main tourist spots and city lights.
- South Coast: Reynisfjara black sand beach, Skógafoss waterfall.
- Logistics: Rent a 4x4 (essential for exploring off the main roads). Self-driving is popular. Many tour operators offer aurora hunts from Reykjavik (approx. $70-120 per person for a bus tour).
- Approx. Prices (Sept 2025): Car rental ~$70-150/day, accommodation ~$100-300/night (can be higher for unique stays). Tours ~$70-150.
2. Norway: Fjords and Northern Dreams
- Why September: Stunning autumn foliage (especially in Lofoten), less extreme cold, and the coastal areas benefit from the Gulf Stream's warmth.
- Prime Locations:
- Tromsø: Known as the "Gateway to the Arctic." Many aurora tour operators. You can join a bus tour, small group van tour, or husky sledding/snowmobile aurora tours (though snow might be limited in early Sept).
- Lofoten Islands: Arguably the most picturesque place to see the aurora. Imagine the green lights over dramatic peaks and fishing villages like Reine and Hamnøy. Skagsanden beach offers great foregrounds.
- North Cape: The northernmost point of mainland Europe.
- Logistics: Fly to Tromsø or Bodø (for Lofoten). Car rental is recommended for Lofoten to explore freely.
- Approx. Prices (Sept 2025): Flights to Tromsø vary. Aurora tours from Tromsø ~$150-250/person. Accommodation in Lofoten ~$150-350/night for a Rorbu (fisherman's cabin).
3. Finland: Lapland's Autumn Glow
- Why September: "Ruska" season – the vibrant autumn colors are breathtaking. Lakes and rivers are typically unfrozen, offering mirror-like reflections. Less snow means easier movement.
- Prime Locations:
- Rovaniemi: The official home of Santa Claus, but also a good base for aurora tours.
- Levi/Ylläs: Popular ski resorts that are also great for aurora viewing with minimal light pollution outside the main village.
- Saariselkä: Further north, excellent dark skies.
- Kakslauttanen Arctic Resort: Famous for its glass igloos, allowing you to watch from bed (pricey, but an experience!).
- Logistics: Fly to Rovaniemi, then drive or take a bus to your chosen destination.
- Approx. Prices (Sept 2025): Glass igloos ~$400-800+/night. Cabins/hotels ~$100-300/night. Aurora tours ~$100-200/person.
4. Canada: Wilderness and Wonder (Yukon/NWT)
- Why September: Cooler but not extreme winter cold, less touristy than Europe, vast wilderness for dark skies.
- Prime Locations:
- Whitehorse, Yukon: A popular base. Many aurora lodges and viewing centers just outside the city.
- Yellowknife, Northwest Territories: Another excellent option, known for its consistent aurora displays. Several aurora villages offer heated tipis and viewing areas.
- Logistics: Fly to Whitehorse or Yellowknife. Book aurora packages with local operators for convenience.
- Approx. Prices (Sept 2025): Aurora packages (2-4 nights, includes viewing, some meals) ~$500-1500+. Hotels ~$150-250/night.
5. Alaska, USA: The Last Frontier
- Why September: The darkness has returned, but the harsh winter cold hasn't fully set in.
- Prime Locations:
- Fairbanks: Located directly under the Aurora Oval, Fairbanks is one of the best places in the US to see the lights.
- Chena Hot Springs: Combine aurora viewing with a relaxing soak.
- Arctic Circle: Day trips or overnight tours can take you further north for even darker skies.
- Logistics: Fly to Fairbanks, rent a car. Many hotels offer "aurora wake-up calls."
- Approx. Prices (Sept 2025): Hotels ~$100-200/night. Aurora tours ~$100-200/person.
Beyond the Settings – Composition and Storytelling
Getting the technical settings right is half the battle. The other half is making your photos sing. Don't just point your camera at the sky; make it a story.
- Foreground Interest is Key: An aurora shot with just the sky is nice, but one with a majestic mountain, a quaint cabin, a reflective lake, or even a silhouetted tree adds depth, scale, and a sense of place. I once got a shot of the aurora over a small, snow-covered church in Norway that felt truly magical.
- Seek Reflections: If you're lucky enough to have an unfrozen lake or calm body of water, use it! The mirrored aurora can be absolutely stunning and instantly elevates your photograph. September is great for this as many bodies of water are still liquid.
- Include People (Carefully): A tiny silhouette of a person gazing up at the aurora adds a powerful human element and emphasizes the grandeur of the display. Have your subject stand perfectly still for a few seconds during the exposure. A subtle headlamp on low power can also illuminate them slightly.
- Light Painting (Subtly): If your foreground is too dark, you can "paint" it with a flashlight during a portion of your long exposure. Be quick and gentle; too much light will overexpose it. Use a red light headlamp if possible.
- Vary Your Composition: Don't just take one type of shot. Try horizontal, vertical, wide shots, tighter shots focusing on a particular part of the aurora. Experiment!
- Patience is a Virtue: The aurora comes and goes. It might be a faint glow for hours then suddenly explode. Be prepared to wait, and keep shooting even when it seems quiet. Some of my favorite shots came after I thought the show was over.
Aurora Forecasts and Practical Tips for Your Hunt
You’ve got the gear and the settings, now for the hunt itself!
- Understand the Kp-Index:
- This is a measure of geomagnetic activity, ranging from 0 to 9.
- Kp 0-2: Very low activity, generally only visible at very high latitudes.
- Kp 3-4: Good chance of seeing the aurora at typical aurora destinations (Iceland, Norway, Finland).
- Kp 5+ (Geomagnetic Storm): Spectacular displays that can be seen at lower latitudes. This is what you're hoping for!
- Aim for Kp 3 or higher for a good chance of photographic success.
- Reliable Aurora Forecast Apps/Websites:
- My Aurora Forecast (App): Excellent for real-time Kp-index, cloud cover, and likelihood of aurora.
- SpaceWeatherLive.com: More detailed scientific data, great for understanding the solar wind and CMEs.
- Local Meteorological Services: Crucial for accurate cloud cover forecasts in your specific location. Clear skies are paramount!
- Webcams: Many tourist boards (e.g., in Iceland, Norway) have live webcams pointed north. Check them!
- Cloud Cover is Your Biggest Enemy: You can have a Kp 9 storm, but if it’s cloudy, you won’t see a thing. Always prioritize clear skies over a high Kp-index. Use your forecast apps to find breaks in the clouds or drive to areas predicted to be clear.
- Find Dark Skies:
- Light Pollution Maps: Use websites like LightPollutionMap.info to find truly dark areas away from cities and towns. The darker the sky, the more vibrant the aurora will appear.
- Go North: While the aurora can be overhead, it often starts as a glow on the northern horizon. Have an unobstructed view to the north.
- Stay Safe and Responsible:
- Inform Someone: Let your hotel or travel companions know where you're going and when you expect to return, especially if you're venturing far out.
- Full Tank of Gas: Don't get stranded in the middle of nowhere.
- Emergency Kit: Jumper cables, warm blankets, snacks, water, first-aid kit.
- Drive Carefully: Roads can still be icy or slippery in September, especially at night.
- Respect Nature & Local Regulations: Stay on marked paths, don't disturb wildlife, and leave no trace.
- Don't Forget to Look Up!
- It's easy to get caught up in the technicalities of photography, but remember why you're there. Take moments to put your camera down, breathe in the cold air, and simply witness the incredible spectacle with your own eyes. Some of my most cherished aurora memories are not photos, but the feeling of awe as I watched the lights dance above me.
Conclusion: Your Adventure Awaits
Photographing the Northern Lights in September 2025 isn't just about capturing a pretty picture; it's about freezing a moment of pure, unadulterated magic. With the solar maximum on the horizon and the unique advantages of autumn, this could be your year for an unforgettable aurora adventure.
From choosing the right gear and mastering your camera settings to finding the perfect dark sky location and composing a compelling shot, you now have the tools and knowledge to succeed. It requires preparation, patience, and a willingness to brave the cold, but the reward – a stunning photograph of the dancing lights – is absolutely worth every effort.
So, start planning, pack your warmest layers, and get ready to chase the green ghost. It's more than just a photo; it's a memory etched in light, a story you'll tell for a lifetime.
What's your dream aurora destination? Have any secret tips for fellow photographers? Let us know in the comments below, and don't forget to share your epic Northern Lights photos with #TripsoraAurora2025 on social media! We can't wait to see your magic!
---