From Snaps to Sensational: How to Photograph Food Like a Pro (That Are Trending Right Now!)
I remember my first trip to Italy – a whirlwind of ancient history, passionate people, and, of course, absolutely divine food. Every meal was a work of art, from the vibrant bruschetta in Florence to the perfectly al dente cacio e pepe in Rome. I’d snap a quick photo with my phone, convinced I was capturing the magic. Then, I’d look back at them later, and… well, they looked like something I’d hastily eaten in a dimly lit diner, not the glorious, sun-drenched feasts I remembered. My photos were flat, unappetizing, and utterly failed to convey the incredible experience.
Sound familiar?
It was a frustrating realization: my travel memories were being undersold by my camera roll. I wanted to share the feeling of that crispy arancini in Sicily, the aroma of a steaming bowl of pho in Hanoi, the vibrancy of a street food feast in Mexico City. I wanted my photos to make people stop scrolling, drool a little, and maybe even book a flight!
That’s when I decided to get serious. I started observing, experimenting, and learning from the best. And guess what? You don't need a fancy DSLR or a studio setup to take incredible, shareable food photos. Your smartphone, a keen eye, and a few insider tricks are all you need to transform your culinary captures from "meh" to "OMG, where is that?!"
Welcome to your ultimate guide to photographing food like a pro, focusing on the styles and techniques that are absolutely trending right now. Get ready to turn every meal into an Instagram masterpiece!
1. The Golden Glow & Beyond: Mastering Natural Light (Your Secret Weapon)
Forget expensive lighting rigs; the best light for food photography is almost always free and readily available: natural light. It’s the magic ingredient that gives food that fresh, inviting, and utterly drool-worthy look.
The Window Whisperer:
My absolute number one rule, whether I'm in a bustling café in Paris or a cozy trattoria in Milan, is to seek out window light. Position your dish near a window, ideally one that isn't receiving direct, harsh sunlight. Direct sun creates harsh shadows and blown-out highlights, making your food look unappealing.
- Side Lighting: This is your go-to. Place your dish so the light comes from the side. It creates beautiful shadows and highlights, giving your food depth and dimension. Think of that perfect croissant in a Parisian boulangerie, with the light catching its flaky layers.
- Back Lighting: A little trickier, but incredibly effective for creating a "halo" effect or highlighting textures, like steam rising from a hot dish. Just be careful not to underexpose the front of your food. Often, I'll use a menu or a white napkin as a makeshift reflector to bounce some light back onto the front of the dish.
- Avoid Front Lighting: Light coming directly from behind you and onto the food tends to flatten it out, making it look two-dimensional and boring.
My Anecdote:
I was once in a stunning restaurant in Santorini, the kind with breathtaking caldera views. The food was exquisite, but the indoor lighting was a nightmare – dim, yellow, and totally unflattering. Instead of settling, I politely asked the waiter if I could move to a table right by the window. He happily obliged, and those photos of my grilled octopus, with the Aegean Sea sparkling in the background, became some of my most liked posts. Don't be afraid to move! If moving tables isn't an option, physically move your plate closer to the window, even if it's just for a minute.
Pro Tip:
If the window light is too bright, creating harsh shadows, you can diffuse it. A sheer curtain, a piece of parchment paper taped to the window, or even just holding a white napkin between the window and your food can soften the light beautifully. Conversely, if your shadows are too dark, use a white menu, a piece of white cardstock (I always carry one in my bag!), or even a clean white napkin to reflect light back into the shadows. You can buy a pack of white cardstock for a dollar or two at any stationery store – best investment ever!
2. Composition is King: Framing Your Culinary Masterpiece
Once you've got your light sorted, it's time to think about how you frame your shot. Composition is what tells the story and guides the viewer's eye.
The Rule of Thirds (Your Best Friend):
Imagine a tic-tac-toe grid over your photo. Place your main subject (the hero dish) or key elements along these lines or at their intersections. This creates a more dynamic and pleasing image than simply centering everything. For a vibrant taco spread in Mexico City, I’d place the most colorful taco on an intersection, with the salsa and guacamole leading the eye towards it.
Angles, Angles, Angles:
Experiment with different perspectives to see what best highlights your dish.
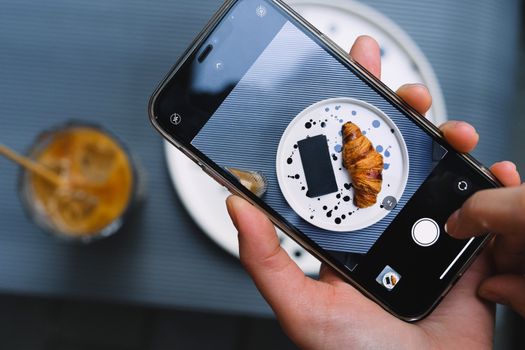
- The Overhead (Flat Lay): This is a massive trend right now, especially for spreads, tablescapes, or dishes with beautiful toppings (like a colorful smoothie bowl or a meticulously arranged poke bowl). Shoot directly from above, ensuring everything is in frame and the lines are straight. It's fantastic for showing the entire experience of a meal. My flat lay of a traditional Vietnamese breakfast spread in Hoi An – banh mi, pho, coffee – got so much engagement because it captured the abundance.
- The 45-Degree Angle (Eye-Level): This is the most common and versatile angle, mimicking how we naturally view our food. It's great for showing depth and texture, like a towering burger, a slice of cake, or a bowl of pasta.
- The Straight-On (0-Degree Angle): Perfect for showcasing height and layers, like a stack of pancakes, a multi-layered sandwich, or a beautifully crafted cocktail. This angle often makes food feel more monumental and impressive.
Leading Lines & Negative Space:
Use elements in the scene (cutlery, tablecloth patterns, even the edge of a table) to create leading lines that draw the viewer's eye to your hero dish. Don't be afraid of negative space – the empty areas around your subject. It helps the main dish breathe and stand out, creating a sense of calm and sophistication. Think of a single, perfectly plated scallop dish in a Michelin-starred restaurant in Copenhagen; the empty space around it screams elegance.
My Anecdote:
I was trying to capture a massive seafood paella in Valencia. My initial shots were just a blob of rice and seafood. Then, I remembered leading lines. I angled my phone so the handle of the paella pan pointed towards the center, and the scattered lemon wedges created a natural path to the vibrant saffron rice. Suddenly, the photo had direction and energy, even though the dish itself was huge!
3. Styling Secrets: Making Food Pop (Without Overdoing It)
This is where you add personality and context to your food photos. But remember, the goal is to enhance, not distract from, the star of the show – the food!
Props with Purpose:
Think about what tells the story of your meal.
- Cutlery & Napkins: Simple, elegant cutlery and a linen napkin can add texture and sophistication. A crumpled napkin can add a lived-in, authentic feel.
- Ingredients: A sprinkle of fresh herbs, a squeeze of lemon, a few scattered spices, or the raw ingredients used in the dish can beautifully enhance the narrative. A small bowl of fresh chili next to a Thai curry, or a few coffee beans next to an espresso, adds a touch of authenticity.
- Hands & Human Element: This is a huge trend right now! A hand reaching for a piece of bread, a fork digging into pasta, someone pouring sauce – it makes the photo feel real, inviting, and relatable. It instantly transports the viewer to the moment. I love capturing my own hand reaching for a hot churro in Madrid, powdered sugar dusting my fingers. It makes the viewer almost feel the warmth.
- Textured Surfaces: Ditch plain white tables if you can. A rustic wooden table, a marble countertop, or even a patterned placemat can add visual interest. When I was in Kyoto, I found that placing my matcha latte on a traditional bamboo mat instantly elevated the photo.
Color & Contrast:
Think about how colors interact. A vibrant red tomato on a green basil leaf, or a bright yellow curry against a dark bowl, creates visual appeal. Use garnishes strategically to add pops of color and freshness. Don't be afraid to move things around slightly on the plate (subtly!) to achieve better balance.
The "Action Shot" Trend:
Another popular trend is capturing food in motion or just before it's eaten. A subtle steam rising from a hot dish, a sprinkle of salt, a drizzle of olive oil, or a fork mid-air heading towards a bite – these add dynamism and make the food feel fresh and alive. This requires a bit of timing and patience, but the results are incredibly engaging. I once got a killer shot of a chef sprinkling sesame seeds over a sushi roll in Tokyo, and it instantly conveyed the artistry of the preparation.
My Anecdote:
I was at a bustling street food stall in Bangkok, trying to photograph a vibrant Pad See Ew. The lighting was tricky, and the dish, while delicious, looked a bit flat. I noticed a small bowl of crushed peanuts and a lime wedge on the side. I quickly sprinkled the peanuts over the noodles and squeezed the lime, catching the juice mid-air. The added texture and the hint of motion transformed the photo from a simple dish shot into a lively, authentic street food experience. It felt real, messy, and utterly delicious.
4. Gear Up (Smartly): Your Phone is Your Best Friend
Let’s be honest, as travelers, we’re not always lugging around heavy camera equipment. The good news? Modern smartphones are incredibly powerful tools for food photography.
Mastering Your Smartphone Camera:
* Portrait Mode: This is fantastic for blurring the background (bokeh effect), making your food truly pop. Use it for single dishes where you want the focus entirely on the hero.
* "Pro" or "Manual" Mode: If your phone has it, explore these settings. You can often adjust ISO (light sensitivity), shutter speed (motion blur/sharpness), and white balance (color temperature). Playing with white balance can fix those annoying yellow restaurant lights, making your food look more natural.
* Clean Your Lens: This sounds basic, but seriously, a smudged lens is the enemy of a sharp photo. Give it a quick wipe with a microfiber cloth before every shot.
* Zoom with Your Feet: Avoid digital zoom if possible, as it degrades image quality. Instead, physically move closer to your subject.
Minimalist Accessories (Optional but Helpful):
* Mini Tripod: For flat lays or stability in low light, a small, flexible tripod (like a Joby GorillaPod) can be a lifesaver, especially if you're trying to get a perfect overhead shot without shadows.
* Clip-on Lenses: While not essential, a good quality macro lens attachment can be fun for extreme close-ups of texture or intricate details, like the flaky crust of a pie or the intricate pattern on a piece of sushi.
* Portable Reflector/Diffuser: As mentioned, a piece of white cardstock works wonders. You can also buy small, collapsible reflectors online for around $10-20.
When to Consider a "Real Camera":
If you're serious about professional-level work, a mirrorless camera (like a Sony Alpha or Fujifilm X-T series) with a good prime lens (e.g., a 50mm f/1.8 or 35mm f/1.4) will offer superior image quality, low-light performance, and creative control. However, for most travelers and social media, your smartphone is more than enough to capture stunning, trending food photos.
My Anecdote:
I was once at a lively night market in Chiang Mai, Thailand. The smells were incredible, and the street food stalls were buzzing. The lighting was challenging – flickering fluorescent bulbs and dark corners. I pulled out my phone, switched to its "Pro" mode, adjusted the white balance to cool down the yellow light, and bumped up the ISO just slightly to capture the vibrant colors of the mango sticky rice and grilled skewers. The result? Photos that perfectly conveyed the energetic, delicious chaos of the market, all taken with just my phone.
5. Editing Wizardry: Bringing Your Photos to Life (The Final Polish)
This is where your photos truly transform. A good edit can elevate a decent photo to an extraordinary one. The goal isn't to make your food look fake, but to enhance its natural beauty.
My Go-To Apps:
* Lightroom Mobile (Free Version): My absolute favorite. It offers powerful adjustments and allows for consistency across your photos.
* Snapseed (Free): Google's fantastic editing app, great for selective adjustments and healing tools.
* VSCO (Free with Paid Presets): Known for its beautiful, film-like filters.
Key Adjustments (And Why They Matter):
* Exposure: Brighten or darken your image. Most food photos benefit from being slightly brighter.
* Contrast: Makes the light parts lighter and dark parts darker, adding "pop" to your image. Don't overdo it!
* Highlights & Shadows: Recover detail in blown-out bright areas (highlights) and lift detail in dark areas (shadows). This is crucial for food.
* White Balance (Temperature & Tint): This is HUGE. If your photo looks too yellow (common in indoor restaurant lighting) or too blue, adjust the temperature slider to balance it out. The tint slider helps correct green or magenta casts. Get this right, and your food will look far more appetizing.
* Saturation & Vibrance: Saturation boosts all colors equally; vibrance boosts muted colors more. Use sparingly! You want your food to look rich, not cartoonish.
* Clarity & Sharpening: Clarity adds mid-tone contrast, making textures stand out (think flaky pastry or crispy skin). Sharpening defines edges. Use both subtly to make your food look crisp and delicious.
* Crop & Straighten: Always ensure your horizons are straight and crop out distracting elements.
Consistency is Key:
Once you find an editing style you love, try to apply it consistently. This creates a cohesive look for your Instagram feed or blog, making your content instantly recognizable and more professional. I often create my own presets in Lightroom Mobile (even the free version allows you to copy and paste edits) so I can apply a similar look to all my travel food photos.
My Anecdote:
I took a photo of a delicious plate of pasta in a cozy trattoria in Rome. The ambient light was a bit dim, and the photo looked a little dull. I opened it in Lightroom Mobile, bumped up the exposure slightly, cooled down the white balance to remove the yellow cast, added a touch of contrast, and then used the brush tool to selectively lighten the pasta itself. A quick crop and sharpen, and suddenly, that pasta looked vibrant, delicious, and exactly how I remembered it. The transformation was incredible, and it took less than two minutes.
6. Trending Shots & Styles Right Now: Get That Viral Edge!
Beyond the technical skills, understanding what's currently captivating audiences can give your food photos that extra edge.
- The "Human Element" & Interaction: As mentioned, this is huge. Photos of hands holding a coffee cup, tearing a piece of bread, or reaching for a street food snack are incredibly popular. They evoke a sense of experience, authenticity, and invitation. Think of a hand holding a vibrant fruit juice against a colorful market background in Morocco.
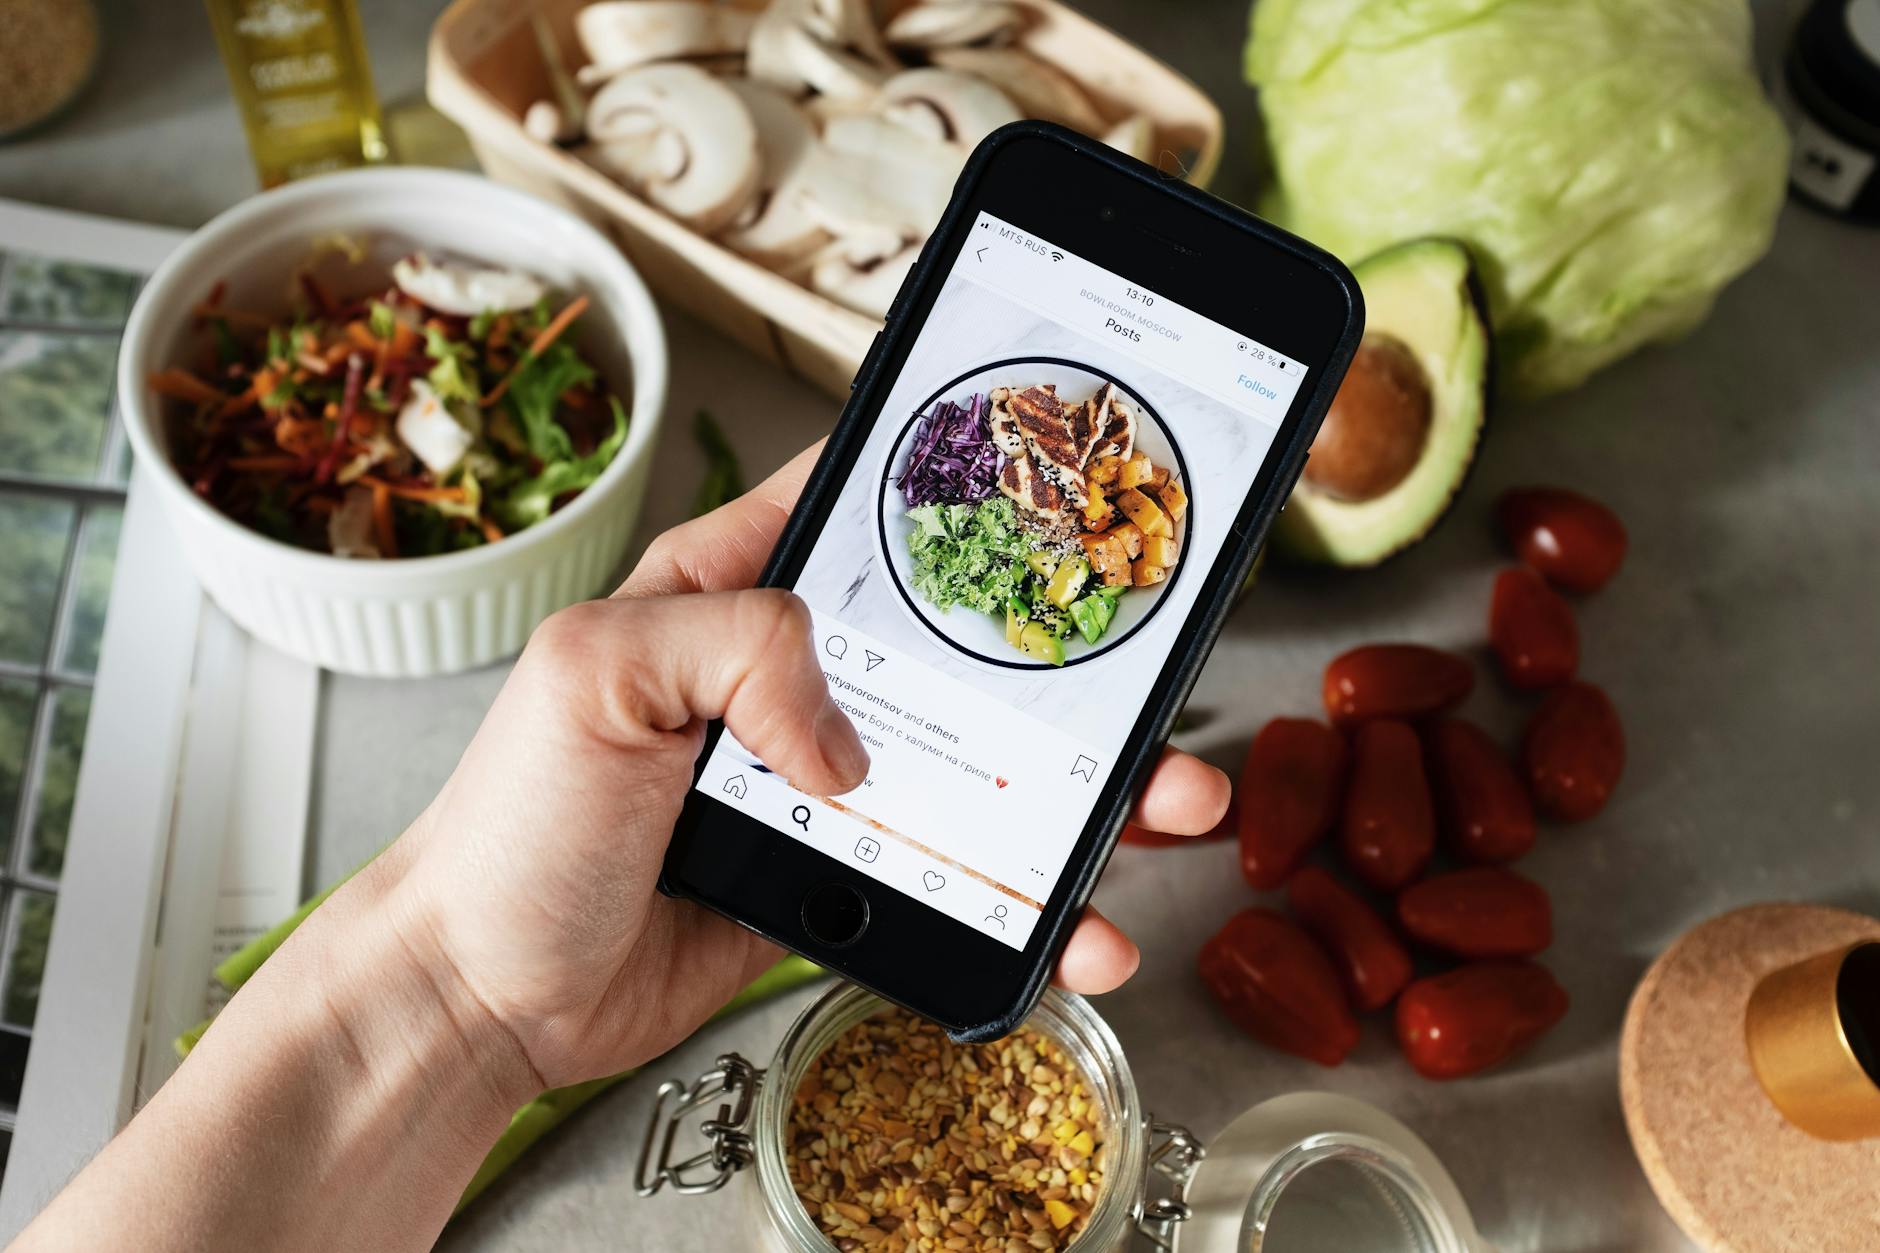
- Deconstructed & Ingredient Focus: Showcasing the fresh, raw ingredients alongside the finished dish. This emphasizes quality, freshness, and the craft behind the food. A beautiful photo of fresh herbs, spices, and vegetables artfully arranged next to a steaming bowl of curry immediately tells a story of farm-to-table goodness.
- Subtle Motion Blur (Steam, Pouring, Sprinkling): A slight blur in a stream of coffee being poured, steam rising from a soup, or a sprinkle of cheese falling onto pasta adds dynamic energy and makes the food feel alive and fresh. This requires good timing and sometimes a slightly slower shutter speed (if your phone allows, or just a quick, confident snap).
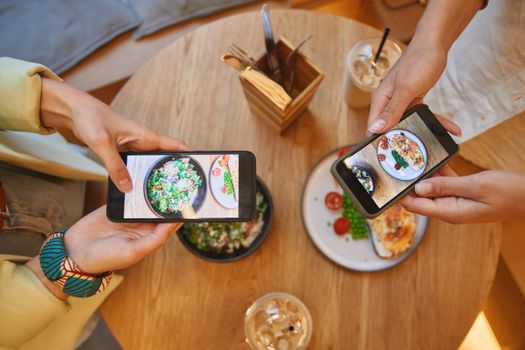
- The "Table Scape" / Feast Shot: Capturing an entire spread of dishes, especially popular for brunch, tapas, or family-style meals. This emphasizes abundance, variety, and the communal aspect of dining. Think of a lavish Turkish breakfast spread, or a vibrant tapas table in Barcelona, overflowing with small plates. This is often best captured with a flat lay or a slightly elevated 45-degree angle.
- Authentic Street Food Vibes: Gritty, real, and imperfect. Don't be afraid of the bustling background, the slightly worn table, or the chef in action. These photos tell a powerful story of local culture and culinary adventure. Embrace the chaos, the steam, the raw energy. A close-up of sizzling skewers on a grill in Singapore's Lau Pa Sat, with the blurred figures of people in the background, is far more engaging than a sterile studio shot.
- "In the Wild" Context: Show the food in its environment. A gelato cone against the Colosseum, a bowl of ramen with a blurred Tokyo street scene behind it, or a fresh coconut drink on a beach in Bali. This instantly makes the photo a travel memory, not just a food picture.
My Anecdote:
I was in Lisbon, exploring the Alfama district, and stumbled upon a tiny bakery selling Pasteis de Nata. I bought one, still warm, and instead of taking it to a clean table, I photographed it right there, perched on a rustic stone wall with the narrow, winding street and a glimpse of the Tagus River in the background. My hand was holding it, a tiny dusting of cinnamon visible. It wasn't perfect, but it felt incredibly authentic and captured the essence of that moment. It became one of my most popular photos from the trip, proving that context and authenticity often trump perfection.
Conclusion: Go Forth, Snap, and Share Your Culinary Adventures!
From the bustling street markets of Marrakech to the elegant cafés of Vienna, every meal on your travels is an opportunity to create stunning, shareable content. You now have the tools and the trending insights to transform your food photos from mere records into compelling stories.
Remember, it’s all about embracing natural light, thinking critically about your composition, adding subtle styling cues, leveraging your smartphone’s capabilities, and giving your photos that final polish with smart editing. And most importantly, don't be afraid to experiment, be authentic, and infuse your unique travel perspective into every shot.
So, next time that incredible dish lands in front of you, don't just eat it – capture it! Make it look as delicious as it tastes. Your followers (and your future self!) will thank you.
Now it's your turn! What's the most delicious dish you've ever photographed on your travels? Share your favorite food photography tips or your best culinary captures with us on Instagram using #TripsoraFoodie and tag @Tripsora! We can't wait to see your mouth-watering masterpieces!
---