The Secret Sauce: How to Photograph Food Like a Pro (Instagram Influencers Don't Want You to Know)
There I was, perched on a tiny stool in a bustling street food market in Bangkok. Before me sat a vibrant plate of Pad See Ew, glistening noodles, tender chicken, and crisp greens, all promising an explosion of flavor. I pulled out my phone, snapped a quick pic, and then – poof – it was gone, devoured in minutes. Later, scrolling through my camera roll, I paused at the photo. It was… fine. Edible, sure, but it didn't capture the electric energy of the market, the steam rising from the wok, or the sheer deliciousness that had just graced my taste buds. It looked like any other photo of noodles.
Sound familiar? We've all been there. You travel halfway across the world for an iconic dish, only to have your photo fall flat. Meanwhile, your favorite travel influencers are churning out drool-worthy images that make you want to book the next flight. What's their secret? Is it expensive cameras? Professional lighting rigs? Years of photography school?
Here's the truth: While fancy gear can help, the real magic lies in mastering a few fundamental techniques that anyone, with any camera (yes, even your smartphone!), can learn. These aren't just tips; they're the philosophy behind those viral food shots, the insider knowledge that turns a good meal into an unforgettable visual story. And today, I’m pulling back the curtain and sharing them all with you. Get ready to elevate your food photography game from amateur to artisan.
---
1. The Golden Hour of Gastronomy: Mastering Natural Light
If there's one golden rule in food photography, it's this: natural light is your best friend. Forget harsh flashes or dim restaurant lighting. Influencers hunt for good light like truffle pigs hunt for truffles, and you should too.
My "aha!" moment with light came in a tiny, sun-drenched cafe in Rome. I was attempting to photograph a perfectly swirled cornetto and a steaming cappuccino. Initially, I sat at an interior table, and the photos were dull, flat, and unappetizing. Then, I noticed a table by a large window, bathed in soft, diffused morning light. I moved, reshot, and bam! The pastry's flaky layers became visible, the coffee crema glowed, and the entire scene felt warm and inviting. It was a revelation.
Actionable Tips for Light Hunters:
- Seek the Window Seat: This is your primary directive. Always, always try to sit near a window. The light here is usually soft and even, perfect for food.
- Embrace Diffused Light: Direct sunlight can be too harsh, creating stark shadows and blown-out highlights. Look for light filtered through sheer curtains, or even use a white napkin or menu held strategically to diffuse harsh light coming from a window. I once used a large white menu from a charming little bistro in Lyon to bounce light back onto my perfectly seared scallops, illuminating their golden crust. Cost: Free. Impact: Priceless.
- Backlighting & Sidelighting are Your Allies: Instead of having the light source directly in front of you (which can flatten the image), try placing your food between you and the light source (backlighting) or with the light coming from the side (sidelighting).
- Backlighting makes liquids glow, highlights steam, and adds a beautiful rim light to dishes. Think of a stack of pancakes drenched in syrup, backlit by the morning sun – pure magic! Just be careful not to underexpose your subject; you might need to tap to focus and brighten your exposure a bit.
- Sidelighting creates depth and texture, showing off the contours and dimensions of your food. It’s fantastic for dishes with lots of layers or intricate details, like a towering burger or a rustic bread loaf.
- Avoid Overhead Light: Many restaurants use harsh overhead lighting that casts unflattering shadows. If you can't avoid it, try to position your dish slightly away from the direct beam or use your body to block some of the direct light.
- No Flash, Ever: Unless you're a professional with an external flash and diffuser, your phone's built-in flash will ruin your food photos 99% of the time, making everything look stark, unappetizing, and often yellow-tinted. Just say no.
---
2. Composition is King: Frame Your Feast Like a Pro
Once you've found your light, it's time to compose your shot. This is where you tell a visual story, not just document a meal. Influencers aren't just pointing and shooting; they're meticulously arranging elements to guide your eye and evoke emotion.
I remember struggling with a particularly vibrant array of tapas in Seville. Each dish was a masterpiece, but my photos felt chaotic. A local photographer, noticing my plight, leaned over and simply said, "Think about the space." He showed me how to remove a stray olive pit, adjust a napkin, and suddenly, the patatas bravas looked inviting, not just messy. It was about creating balance and intention.
Actionable Tips for Masterful Composition:
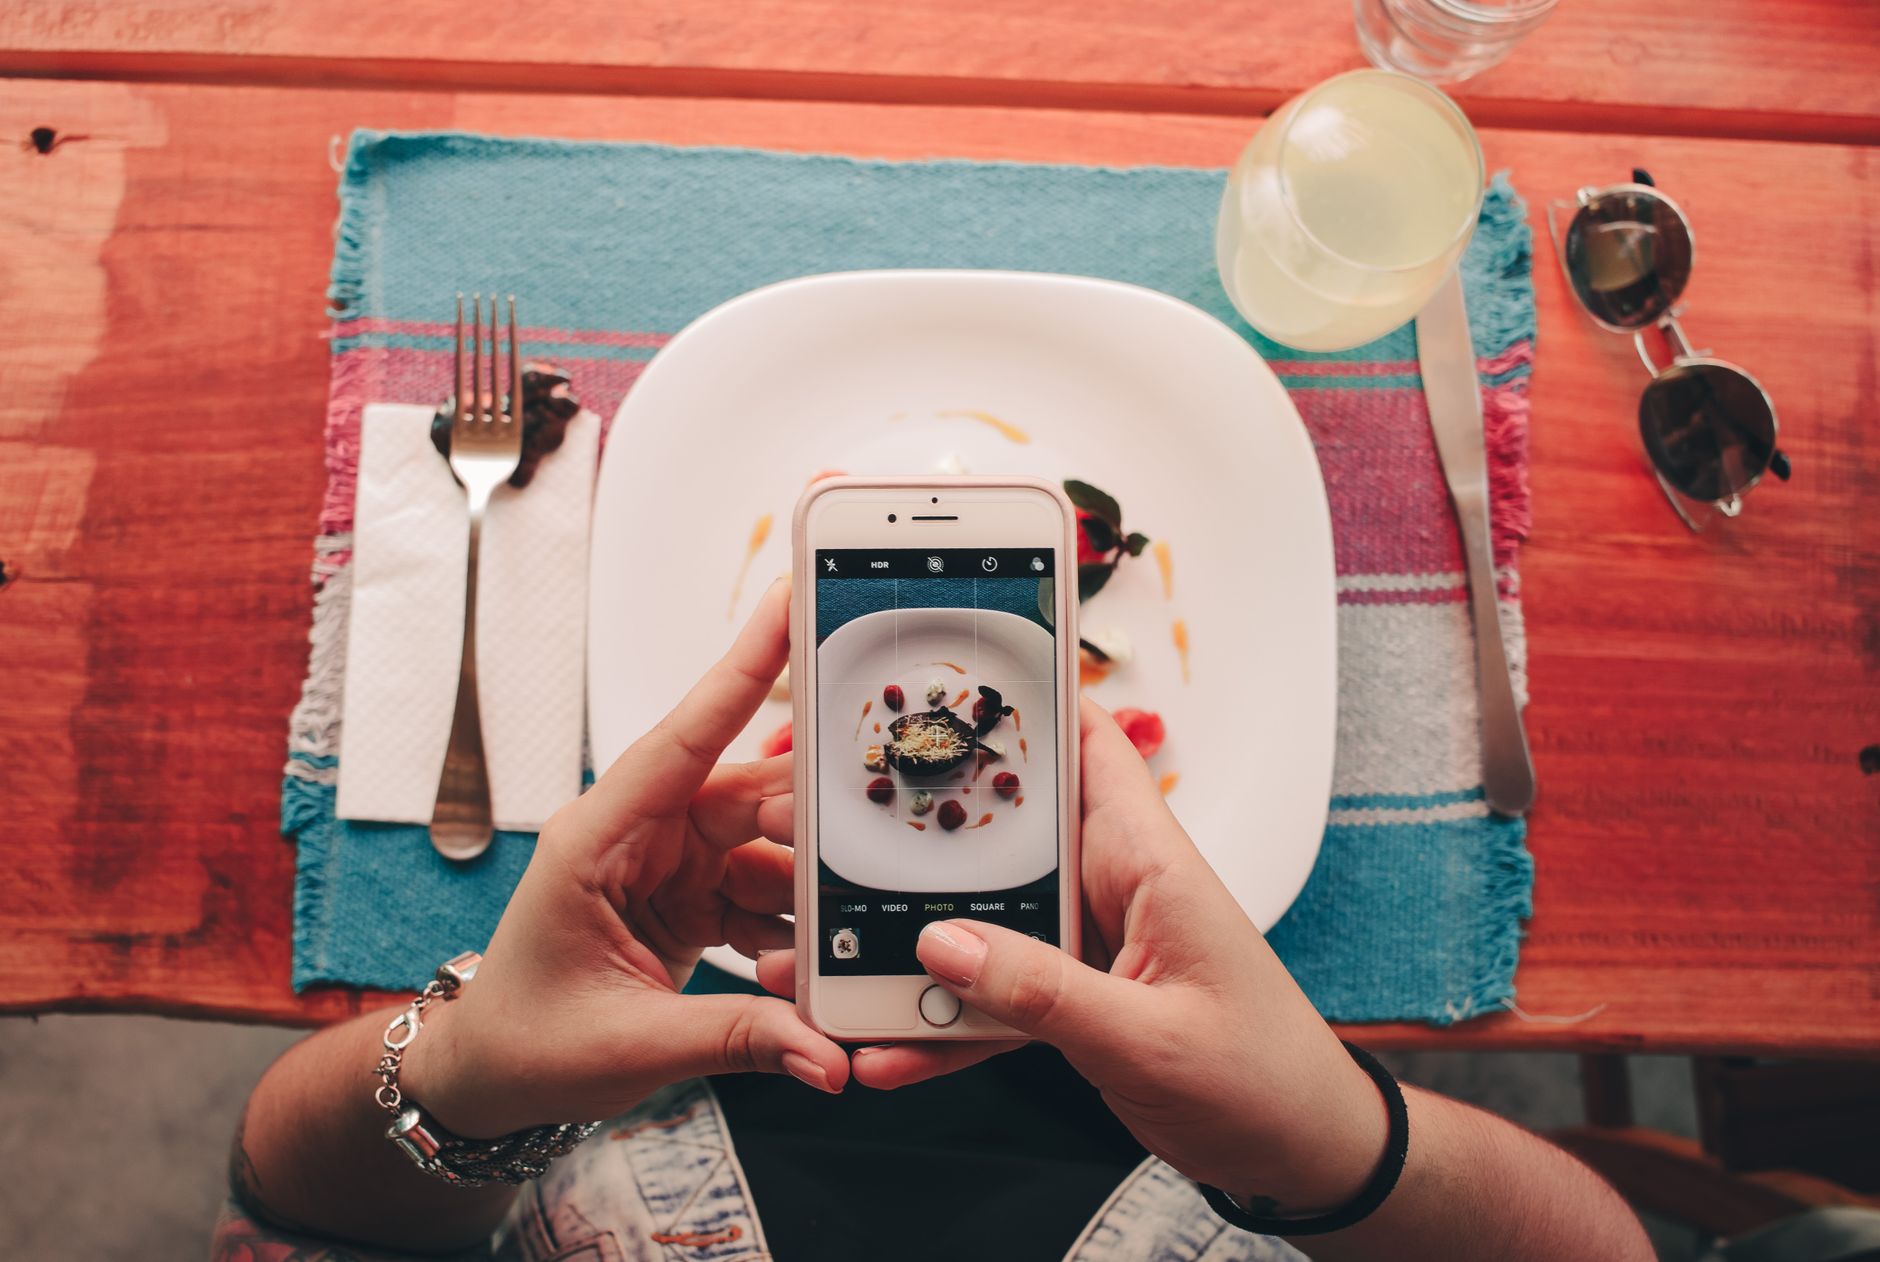
- The Rule of Thirds: Imagine your frame divided into nine equal squares by two horizontal and two vertical lines. Place your main subject (or key elements) along these lines or at their intersections. This creates a more dynamic and pleasing image than simply centering everything. Most phone cameras have a grid overlay feature – use it!
- Angles Matter (A Lot!):
- The Overhead Shot (Flat Lay): This is the Instagram classic for a reason. It works wonderfully for tables full of dishes, pizzas, bowls of ramen, or anything with interesting toppings and patterns. It eliminates distracting backgrounds and creates a clean, graphic look. Stand up, hold your phone directly above the food, and make sure your shadow isn't in the shot! I perfected my flat lay game during a matcha tasting in Kyoto, where the delicate sweets and tea bowls demanded a top-down view to showcase their elegant arrangement.
- The 45-Degree Angle: Mimics how you'd naturally view your food. It's versatile and great for showing off the depth and layers of a dish, like a towering burger or a hearty pasta.
- The Straight-On Shot: Best for drinks, cocktails, or dishes with impressive height, like a fancy cake or a stack of pancakes. It puts the focus squarely on the subject without much background distraction.
- Leading Lines: Use elements like cutlery, placemats, or even the edge of a table to draw the viewer's eye towards your main subject.
- Negative Space: Don't feel the need to fill every inch of the frame. Empty space around your food can make the subject stand out more and give the photo a clean, sophisticated feel.
- Depth of Field (Bokeh): If your camera (especially smartphones with portrait mode) can create a shallow depth of field, use it! Blurring the background helps your food pop and gives a professional, artistic look. I love using portrait mode on my phone for close-ups of a perfectly glazed pastry in a Parisian patisserie; it makes the background magically melt away.
---
3. Styling Your Story: More Than Just Food on a Plate
This is where the magic truly happens, the "secret sauce" that transforms a picture of food into a narrative. Influencers don't just photograph food; they style it. They create a scene, a moment, an experience.
My styling journey took a leap forward in a tiny, vibrant market in Ho Chi Minh City. I was trying to photograph a bowl of Bún chả – a complex dish with grilled pork, noodles, herbs, and dipping sauce. My first attempts were just a messy bowl. Then, I remembered seeing influencers use "props." I pulled in a sprig of fresh mint from a nearby vendor, arranged the dipping sauce in the foreground, and even added my chopsticks, poised as if I was about to dig in. Suddenly, the photo told a story of fresh ingredients, anticipation, and authentic Vietnamese flavor.
Actionable Tips for Stellar Styling:
- The Supporting Cast (Props):
- Cutlery & Napkins: Don't just leave them haphazardly. Arrange them neatly, or artfully disarrayed as if a meal is in progress. A crumpled linen napkin can add texture and a rustic feel.
- Drinks: A vibrant cocktail, a frothy coffee, or a glass of wine adds color, height, and context.
- Ingredients: If there are key ingredients, like a lime wedge, a sprig of herbs, or a sprinkle of chili flakes, strategically place them in the frame.
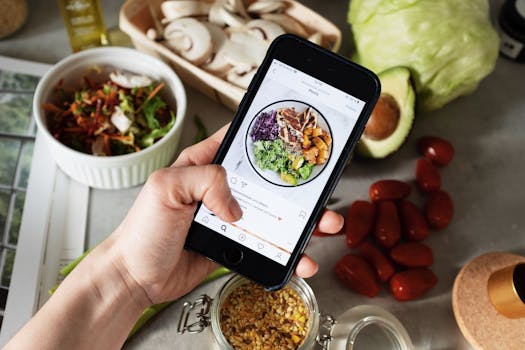
- Hands: A hand reaching for a fork, holding a cup, or even just resting on the table adds a human element and a sense of scale and interaction. It makes the food feel more accessible and real.
- Background Elements: Don't overlook the background! A rustic wooden table, a colorful tile, a blurred menu, or even a local artwork on the wall can add context and visual interest without distracting from the food. In Lisbon, I often use the city's iconic azulejo tiles as a vibrant backdrop for my pastéis de nata.
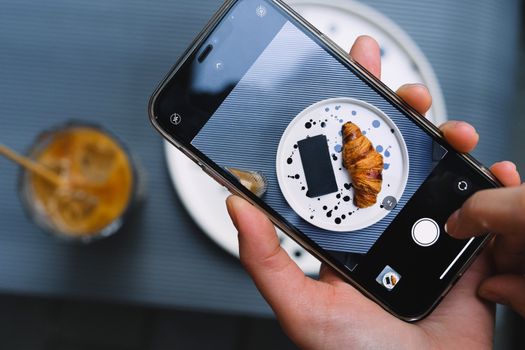
- The "In-Progress" Shot: A bite taken out of a croissant, crumbs scattered around a cookie, a spoon dipping into a soup – these details make the food feel real, inviting, and delicious. It tells the viewer, "Someone is enjoying this right now!"
- Steam & Smoke: If the food is hot, capture that wispy steam! It adds life and warmth to your photo. Be quick, as steam dissipates fast.
- Color Theory: Think about complementary colors. A vibrant red tomato against a green basil leaf, or a rich orange curry against a blue ceramic bowl. These contrasts make your food pop.
- Tell a Story: What's the narrative? Is it a cozy breakfast? A lavish dinner? A quick street snack? Arrange your elements to convey that feeling.
---
4. The Mobile Marvel: Unleashing Your Smartphone's Potential
"But I don't have a fancy DSLR!" I hear you cry. And to that, I say: "Good!" Because most of the stunning food photos you see on Instagram are taken with a smartphone. The best camera is the one you have with you, and modern smartphones are incredibly powerful.
I once spent a week in a remote village in Puglia, Italy, with only my iPhone. I was convinced I'd miss my "real" camera. But armed with these tips, I captured some of my favorite food photos ever – rustic pasta dishes, freshly baked bread, and vibrant produce from the local market. My iPhone 13 Pro Max, retailing around $1000-$1200, proved to be an indispensable tool, especially with its advanced camera system. It taught me that technique trumps gear every single time.
Actionable Tips for Smartphone Superstars:
- Clean Your Lens: This sounds obvious, but it's the most overlooked tip! A smudged lens will make your photos hazy and dull. Wipe it with a microfiber cloth or even the corner of a clean t-shirt before every shot.
- Tap to Focus & Adjust Exposure: Don't just point and shoot. Tap on the screen where your main subject is to ensure it's in sharp focus. After tapping, a sun icon (or similar) usually appears; slide it up or down to adjust the exposure (brightness). This is crucial for getting the right light, especially in tricky conditions.
- Use Grid Lines: Enable the grid lines in your camera settings (usually under "Camera" in your phone's main settings). This helps immensely with composition, especially for the Rule of Thirds and ensuring your overhead shots are straight.
- Master Portrait Mode (or Aperture Mode): Many modern smartphones have a "Portrait" mode that artificially blurs the background (bokeh effect). This is fantastic for food photography, making your dish stand out. Experiment with different "f-stop" values if your phone allows, to control the intensity of the blur.
- Burst Mode for Action Shots: If you're trying to capture steam, a sprinkle of garnish, or a hand reaching for food, use burst mode (usually by holding down the shutter button). You'll get a series of shots, increasing your chances of getting that perfect, fleeting moment.
- Consider a Mini Tripod (Optional): For overhead shots, a small, flexible tripod (like a Gorillapod, often under $30-50) can be a game-changer, ensuring stability and perfect alignment. It's not essential for every traveler, but if you're serious, it's a worthy investment.
---
5. The Post-Production Magic: Editing Like a Wizard (Without the Wand)
Even the pros don't share raw, unedited photos. Editing isn't about dramatically altering reality; it's about enhancing what's already there, making colors pop, correcting exposure, and adding that final polish. This is where your photos truly come alive, moving from good to glorious.
My early editing attempts were disastrous – oversaturated colors, weird filters. But then I discovered the power of subtle tweaks. I remember a particularly delicious, but somewhat dull-looking, paella I photographed in Valencia. The light wasn't ideal. In Lightroom Mobile (a fantastic, free app!), I boosted the shadows, slightly increased clarity, adjusted the white balance to bring out the saffron's warmth, and just a tiny touch of saturation. The result? A vibrant, mouth-watering paella that looked just as good as it tasted.
Actionable Tips for Editing Excellence:
- Essential Editing Apps:
- Lightroom Mobile (Free with paid features): My go-to. Offers powerful, precise controls.
- Snapseed (Free): Google's app, incredibly user-friendly with excellent tools like "Selective Adjustments" and "Healing" for removing distractions.
- VSCO (Free with paid filters): Great for adding stylish, consistent filters.
- Key Adjustments (Always Start Here):
- Exposure: Brighten or darken your image. Don't overdo it!
- Contrast: Adds punch and depth. Be subtle.
- Highlights & Shadows: Recover detail in blown-out bright areas or dark, underexposed areas.
- White Balance (Temperature & Tint): Crucial for making colors look natural. If your food looks too yellow or too blue, adjust this.
- Saturation & Vibrance: Saturation makes all colors more intense. Vibrance boosts less saturated colors without overdoing skin tones or reds. Use sparingly!
- Sharpness & Clarity: Sharpness adds detail, clarity adds mid-tone contrast, making textures pop. Don't go overboard, or your food will look crunchy and unnatural.
- Selective Adjustments: Use tools like Snapseed's "Selective" brush or Lightroom's masking tools to make adjustments to specific parts of your photo (e.g., brighten just the sauce, sharpen just the crust).
- Straighten & Crop: Ensure your horizons are level and crop out any distracting elements. A well-composed crop can dramatically improve an image.
- Develop a Signature Style (Presets): Once you find an editing style you love, save it as a preset. This ensures consistency across your photos, which is key for a cohesive Instagram feed. Many apps allow you to create and save your own presets.
---
6. Beyond the Plate: Capturing the Experience
Food photography isn't just about the dish itself; it's about the entire culinary journey. The atmosphere, the people, the process – these elements add layers of authenticity and storytelling that truly resonate with an audience. Influencers know that food is just one piece of the travel puzzle.
I learned this firsthand at a small, family-run trattoria in Florence. The pasta was divine, but what made the experience truly memorable was the warmth of the nonna who cooked it, the rustic charm of the checkered tablecloths, and the clinking of glasses from other diners. My photos of just the pasta were good, but my photos that captured the nonna smiling as she served me, or the bustling kitchen in the background, told a much richer story.
Actionable Tips for Holistic Storytelling:
- The Wider Shot: Don't just zoom in. Take a wider shot that includes the restaurant's ambiance, the market's chaos, or the stunning view from your dining spot. This provides context and immerses the viewer in your experience.
- The Chef/Cook: If appropriate and respectful, ask if you can photograph the chef or cook in action. Their passion often shines through, adding a human element to your culinary story.
- The People: Capture candid moments of people enjoying the food – friends laughing over a shared platter, a child savoring an ice cream, a street vendor proudly serving their wares. These evoke emotion and make your photos relatable.
- The Process: If you're at a cooking class (like the amazing one I took for mochi making in Tokyo, which cost around ¥5,000 or $35 USD), a farm, or a market, photograph the raw ingredients, the preparation, the hands at work. It highlights the journey from farm to fork.
- Details, Details, Details: A crumbling wall with peeling paint in a rustic cafe, a unique piece of cutlery, a beautifully designed menu – these small details add character and depth to your visual narrative.
- Tell a Series: Instead of just one photo, think about a series of 3-5 images that tell the full story: the setting, the chef, the dish, a close-up, and perhaps you enjoying it.
---
Your Plate, Your Story: The Final Bite
You now have the playbook. These aren't just random tips; they're the tried-and-true techniques that transform ordinary food photos into extraordinary, shareable content. The influencers aren't hoarding these secrets; they've simply mastered them through practice and observation.
The next time you're faced with a delectable dish, whether it's a Michelin-starred creation or a humble street snack, remember these principles. Seek out the light, compose with intention, style with a story, leverage your smartphone, and refine with thoughtful editing. Most importantly, practice, experiment, and have fun! Your food photos will not only look incredible but will also authentically capture the essence of your travel experiences.
Now go forth, fellow food adventurers, and make every meal a masterpiece!
What's your favorite dish you've ever photographed on your travels? Share your best food photos with us on Instagram using #TripsoraFood and tag @Tripsora! We can't wait to see your mouth-watering creations!
---