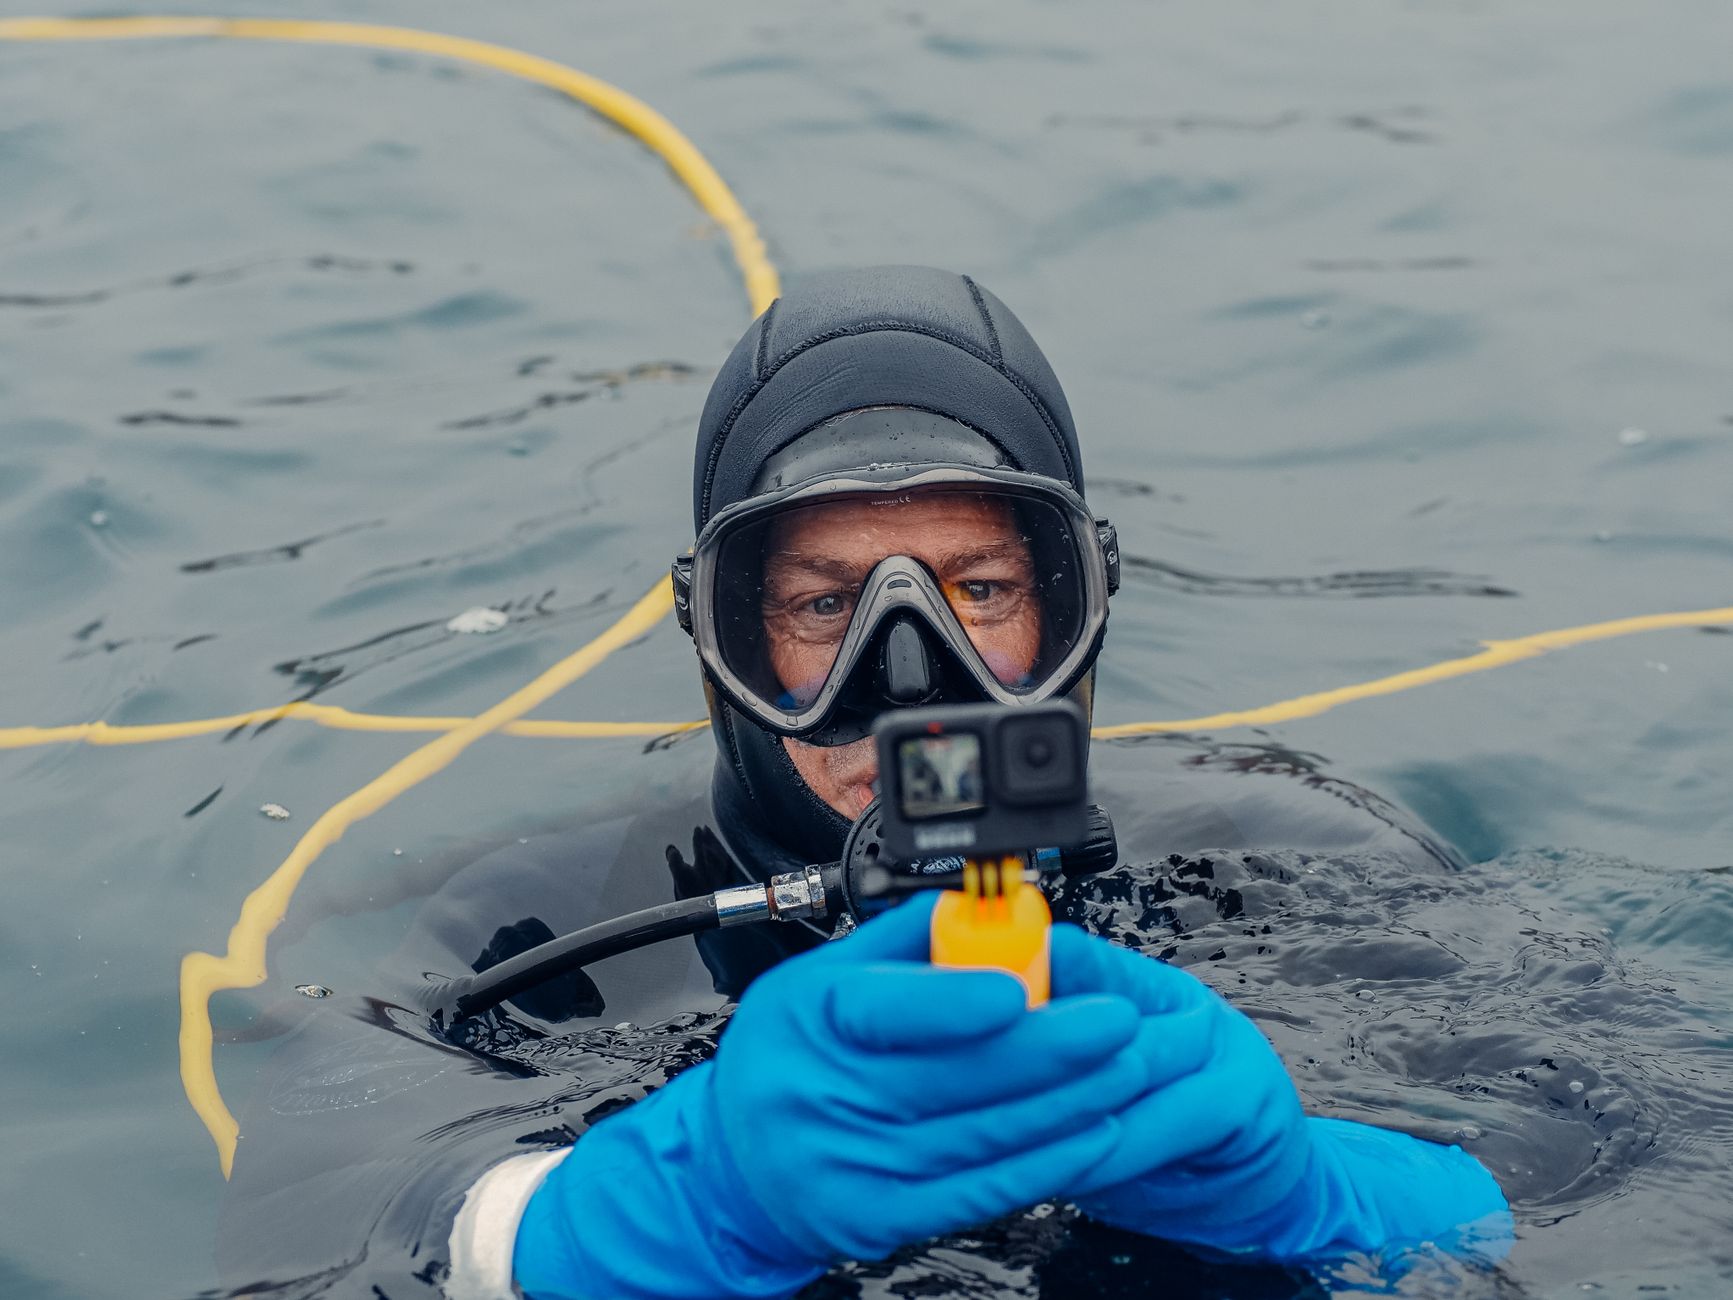
Underwater Photo Gear Influencers Hide: Your Budget Guide to Capturing Instagram-Worthy Ocean Magic
Picture this: You’re floating effortlessly in the turquoise embrace of the Maldivian sea, a kaleidoscope of reef fish darting around vibrant corals. Or perhaps you’re face-to-face with a majestic sea turtle gliding through the crystal-clear waters of the Gili Islands. You want to capture that moment, that feeling, that unbelievable beauty to share with the world – to make your followers gasp, "Wow!"
But then you scroll through Instagram. You see those impossibly perfect, vivid underwater shots from travel influencers, and your heart sinks. You imagine their elaborate, expensive DSLR rigs, the giant strobes, the professional dive teams… and suddenly, your dream of becoming an underwater photography wizard feels as distant as the Mariana Trench.
I’ve been there. Oh, have I been there! Years ago, on my first proper snorkeling trip in Thailand's Phi Phi Islands, I was armed with a waterproof point-and-shoot camera that promised "underwater fun." The results? Blurry, green-tinted blobs that vaguely resembled fish, and a whole lot of disappointment. I yearned for those vibrant blues, the sharp details of a clownfish peeking from its anemone home. I thought I needed to win the lottery to afford the gear that would get me there.
But here's the secret that many high-flying influencers with their sponsored $10,000 setups might not want you to know: you absolutely do not need to mortgage your house to capture incredible, shareable underwater photos. In fact, with a few smart, affordable investments and some insider tips, you can be snapping shots that look professional enough to fool even the savviest Instagrammers.
This isn't about competing with National Geographic photographers (yet!). This is about empowering you, the beginner travel enthusiast, to capture the magic beneath the waves without the intimidation or the exorbitant price tag. Let's dive deep into the budget-friendly gear and techniques that will transform your underwater photography game!
1. The Undisputed King of Accessibility: Action Cameras (GoPro & Co.)
Forget bulky DSLRs. For 90% of beginners, the action camera is your ultimate weapon. And yes, many influencers started here before their sponsorships kicked in!
Why it's your best friend:
* Compact & Lightweight: Easy to pack, easy to handle underwater.
* Inherently Waterproof: No need for extra housings (though we'll get to those!).
* Incredible Video & Photo Quality: Modern GoPros (Hero 9, 10, 11, 12) and their competitors (DJI Osmo Action, Akaso) shoot stunning 4K video and crisp stills.
* Durability: They're built for adventure, meaning they can take a knock or two.
* Affordable: A new GoPro Hero 11/12 can set you back around $350-$450, while older models or competitors like the Akaso Brave series can be found for $100-$250.
My Personal Take:
My first real underwater "aha!" moment came with a GoPro Hero 7. I took it on a trip to Komodo National Park in Indonesia, famous for its manta rays. While the camera was fantastic for capturing the mantas gliding overhead, I quickly noticed something – my photos lacked the vibrant reds and oranges of the coral. They had that distinct blue-green tint. This led me to my next essential piece of gear...
Pro Tip for Action Cameras:
Always shoot in the highest resolution possible (e.g., 4K video, RAW photos if available). Set your "color profile" to "Flat" or "Neutral" if your camera has the option. This gives you more flexibility to edit colors later, just like the pros do! Also, ensure your camera's firmware is updated for optimal performance.
2. The Game Changers: Essential Accessories That Elevate Your Shots
This is where the real "secrets" lie. Influencers might show off their fancy cameras, but these small, affordable additions are often the true difference-makers in their underwater shots.
a) The Magic of Color Correction Filters: Red, Magenta & Snorkel
Remember my blue-green Komodo photos? That's where a color correction filter comes in. Water absorbs different colors of light at varying depths. Red light is absorbed first, which is why everything looks blue or green underwater.
* Red Filter: For blue waters (e.g., oceans, tropical seas) at depths of 10-70 feet. It brings back the reds, oranges, and yellows, making corals and fish pop!
* Magenta Filter: For green waters (e.g., lakes, quarries, some colder oceans).
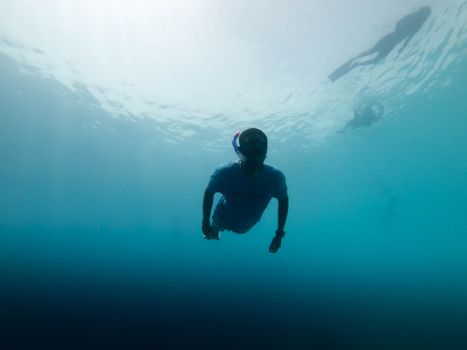
* Snorkel Filter (Light Red/Pink): For shallow water (0-15 feet), perfect for snorkeling.
My Personal Take:
I bought a cheap red filter kit (around $20-$40) for my GoPro before a trip to the Great Barrier Reef. The difference was NIGHT AND DAY. Suddenly, the vibrant purples, pinks, and yellows of the coral were visible, not just a monotonous blue. It was like someone had flicked a "color" switch! This is the single most impactful accessory for any action camera user.
b) The Dream Weaver: Dome Port for Split Shots (Over/Under)
You know those iconic photos where half the shot is above water (a boat, an island, a person) and half is below (fish, coral, legs)? That's a split shot, and it's achieved with a dome port.
- How it Works: A dome port pushes the waterline away from the camera lens, creating a larger air-water interface that allows the camera to focus on both above and below the surface simultaneously.
- Price: Good quality dome ports for GoPros can range from $50-$150 (e.g., Telesin, TELESIN, SHOOT).
My Personal Take:
I rented a dome port for a trip to a cenote in Mexico's Yucatán Peninsula. The resulting photos, showing the jungle canopy above and the mystical underwater formations below, were pure magic. They are consistently among my most liked and shared photos! It’s a bit tricky to get right initially (calm water is key!), but the results are incredibly rewarding and uniquely Instagrammable.
c) Stability & Security: Floating Hand Grip / Pole
Never, ever take your action camera into the water without a floating hand grip or pole.
* Prevents Loss: If you drop your camera, it floats to the surface.
* Stability: Provides a much more stable grip than just holding the camera, reducing shaky footage.
* Reach: A pole allows you to get closer to shy marine life without disturbing them.
* Price: $15-$40.
My Personal Take:
I once saw a fellow traveler lose their brand-new GoPro to the currents in Fiji because they didn't have a floating grip. It was a heartbreaking moment. Learn from others' mistakes! My bright yellow floating grip has been to countless oceans and is probably the most essential safety accessory I own.
d) The Light Bringer: Compact LED Video Light
While natural light is great, a small, waterproof LED video light (often called a dive light or video light) can dramatically improve color and detail, especially in deeper water or on cloudy days.
- Benefits: Fills in shadows, brings out true colors, and helps the camera focus.
- Price: Compact, bright LED lights can range from $50-$150. Look for ones with adjustable brightness and a wide beam angle.
My Personal Take:
On a cloudy day in the Philippines, snorkeling over some beautiful but slightly deeper coral, my red filter wasn't quite enough. A friend lent me their small LED light, and suddenly, the coral came alive with vibrant hues I hadn't seen before. It’s not strictly necessary for every beginner, but it’s a powerful upgrade when you’re ready.
3. The "Next Step" for Serious Beginners: Compact Cameras with Housings
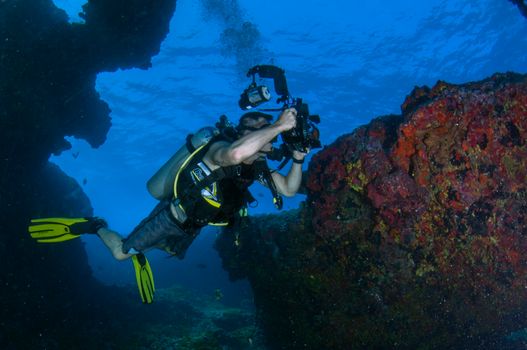
If you've mastered your action camera and want more control over settings (aperture, shutter speed, ISO) but aren't ready for the leap to a full DSLR/mirrorless system, a rugged compact camera with a dedicated underwater housing is your next move.
- Camera Examples: The Olympus TG-6 (or older TG models) is legendary for its built-in underwater capabilities, incredible macro mode, and ruggedness. The Sony RX100 series is another popular choice, offering fantastic image quality in a compact body.
- Housings: Brands like Olympus (for their TG series, e.g., PT-059 for TG-6), Fantasea, and Ikelite make excellent waterproof housings for these cameras. These housings are designed to withstand significant depths (often 100+ feet) and provide access to all camera controls.
- Price: An Olympus TG-6 might cost around $400-$500. Its dedicated housing could be another $300-$500. A Sony RX100 can be $700-$1000, with its housing adding $500-$1000. This is a bigger investment, but still a fraction of a pro setup.
My Personal Take:
After a few years with my GoPro, I found myself wanting more creative control. I invested in an Olympus TG-6 and its housing before a dive trip to Raja Ampat. The difference in detail, dynamic range, and low-light performance was remarkable. I could capture the intricate patterns of a pygmy seahorse or the vibrant scales of a nudibranch with a clarity my action camera couldn't match. This setup truly bridges the gap between casual snaps and serious hobbyist photography.
4. Mastering the Art: Underwater Photography Tips & Tricks
Gear is only half the battle. Knowing how to use it effectively is what truly sets your photos apart. These are the tips influencers use, regardless of their camera!
- Get Close, Closer, Closest: Water acts like a giant filter, reducing clarity and color the further away you are from your subject. Minimize the amount of water between your lens and what you're shooting. This is the #1 rule of underwater photography.
- Shoot Upwards (Towards the Sun): Whenever possible, position yourself slightly below your subject and shoot upwards towards the surface. This lights your subject beautifully, creates dramatic silhouettes, and often results in vibrant blue backgrounds.
- Patience is a Virtue: Marine life moves at its own pace. Don't chase. Find a cool subject, settle in, and wait for it to present itself in a pleasing way.
- Buoyancy Control (for Divers): If you're diving, excellent buoyancy is paramount. Not only does it protect the delicate reef, but it also allows you to position yourself for the perfect shot without stirring up sand or bumping into things.
- Burst Mode is Your Friend: Especially with fast-moving fish, use burst mode (continuous shooting) to capture a sequence of shots. You can pick the best one later.
- Know Your Camera Settings: Even with an action camera, understanding modes (photo, video, time-lapse), white balance, and exposure compensation can make a huge difference. Experiment in shallow water first.
- Clean Your Lens: Before every dive or snorkel, give your lens (and filter/dome port) a quick rinse and wipe with a soft cloth to remove any smudges or water spots.
5. The Influencer's Secret Sauce: Post-Processing Power
Let's be real: those stunning influencer photos rarely come straight out of the camera. Post-processing is where the magic truly happens, and it's accessible to everyone!
- Mobile Apps: For quick edits on the go, Lightroom Mobile (free version is robust), Snapseed (free), or VSCO are fantastic.
- Desktop Software: Adobe Lightroom Classic or Photoshop (subscription-based) offer professional-level control.
- Key Adjustments:
- White Balance/Color Correction: This is crucial for underwater shots. Adjust the temperature and tint sliders until the colors look natural (not too blue, not too green). Your red filter helps, but post-processing fine-tunes it.
- Contrast & Clarity: Boost these to make your subjects pop.
- Shadows & Highlights: Recover details in dark areas (shadows) and prevent blown-out bright spots (highlights).
- Sharpening: A little sharpening can make your subjects look crisper.
- Cropping: Frame your subject effectively, remove distractions.
My Personal Take:
My journey into underwater photography truly took off when I started learning basic editing. Those slightly dull GoPro shots transformed into vibrant, eye-catching images with just a few tweaks in Lightroom Mobile. It's not about fabricating reality, but about restoring the colors the water absorbed and enhancing what's already there. It's the final, crucial step to getting those "influencer-level" results.
6. Responsible Underwater Photography: Be a Guardian, Not a Disruptor
This is perhaps the most important tip of all, and it's something every responsible influencer should (and usually does) practice. The ocean is a fragile ecosystem, and we are privileged visitors.
- Never Touch Marine Life or Coral: Even a gentle touch can harm delicate organisms. Observe from a respectful distance.
- Maintain Excellent Buoyancy: Avoid kicking up sand, bumping into coral, or damaging the environment with your fins or gear.
- Leave No Trace: Don't leave anything behind, and if you see trash, safely pick it up if you can.
- Be Mindful of Your Impact: Don't chase animals for a photo. If an animal shows signs of stress, back off. Your photo is not worth disturbing their natural behavior.
- Educate Others: Share your beautiful photos, but also share the message of conservation and responsible interaction.
Conclusion: Your Underwater Photography Journey Starts Now!
The illusion that you need thousands of dollars of gear to capture breathtaking underwater photos for Instagram is just that – an illusion. Influencers might flash their expensive setups, but the truth is, with an affordable action camera, a few key accessories like a red filter and a dome port, and a solid understanding of basic photography and editing techniques, you can achieve stunning results.
From the vibrant reefs of Australia to the majestic whale sharks of the Philippines, the underwater world is waiting to be explored and documented through your lens. Don't let perceived barriers stop you from sharing its magic.
So, pack your bags, grab your budget-friendly gear, and dive in! Start experimenting, be patient, and most importantly, respect the incredible marine life you encounter. I can't wait to see the incredible underwater stories you'll share.
What's your favorite budget underwater photography tip? Or perhaps a dream destination you want to capture? Share your thoughts in the comments below! And don't forget to tag #TripsoraUnderwater on your next aquatic adventure!
---